
Need Additional Help? If you need further assistance after reading this article, please contact the IT helpdesk via email at techsupport@baypath.edu or by phone at (413)565-1487.
This article will walk through the entire lifecycle of displaying content in OptiSigns, including uploading content, creating a playlist, and assigning it to specific screens.
Uploading Content
The first step in displaying content is to upload said content.
-
First, login to OptiSigns at https://app.optisigns.net (Note: If you haven’t been given access to OptiSigns previously, please submit a support ticket)
-
Navigate to “Files/Assets” using the Navigation bar at the top of the page

-
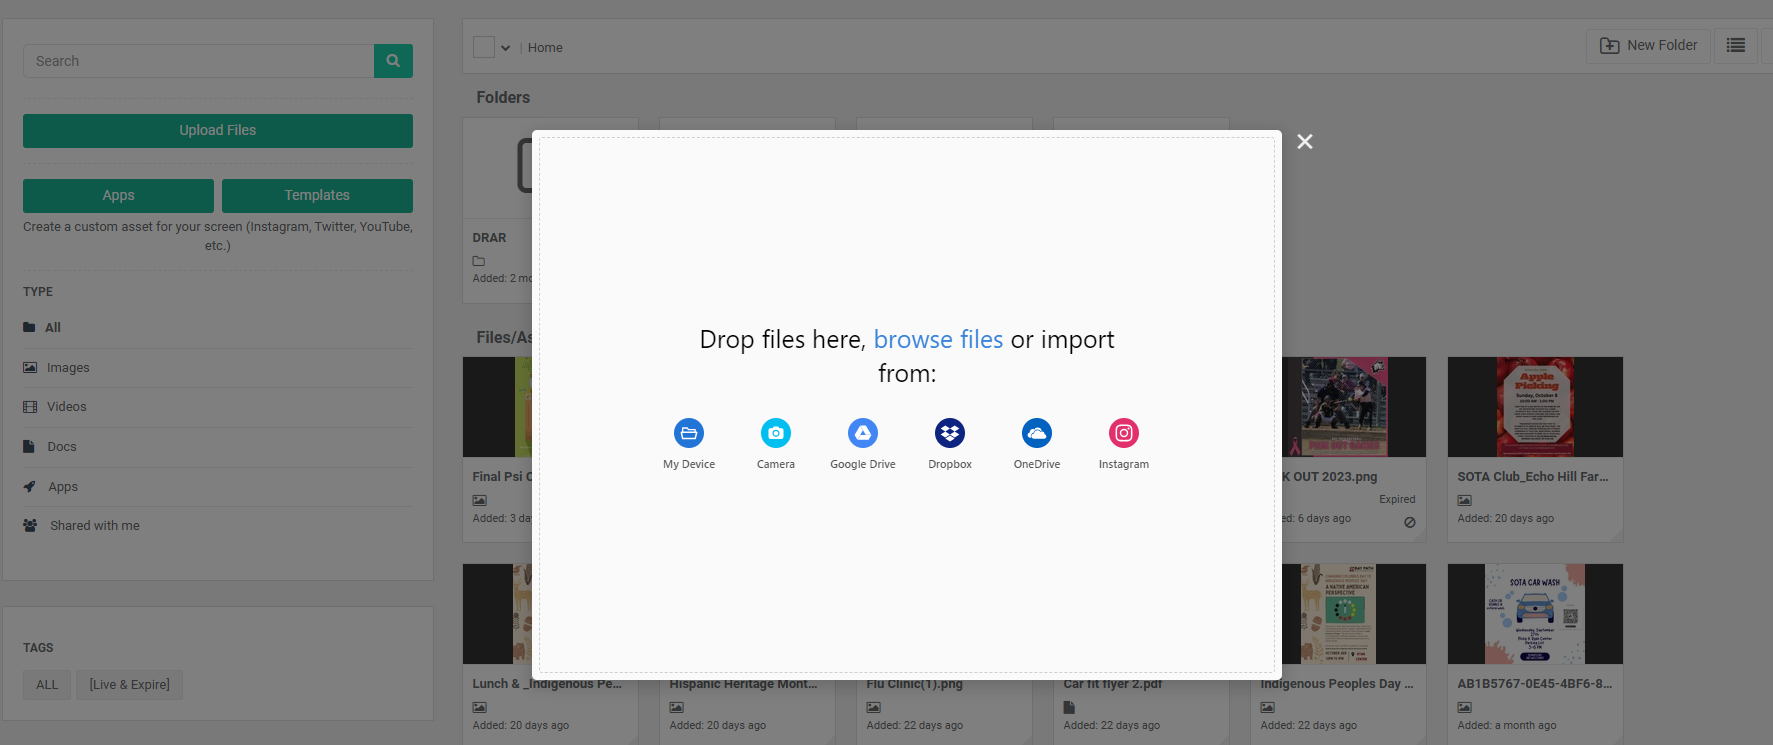
Select “Upload Files” and import them from your desired location and select the “Upload File” button.
-
Once uploaded, the file will be ready to be added to any playlist you’d like.
Setting a Go Live and Expiration Date and Time
For certain content, like advertisements for upcoming events, it might be useful to set a start and end time for the asset.
-
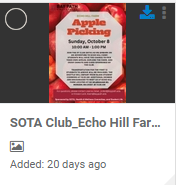
Start by hovering over the asset and selecting the 3 dots in the left-hand corner
-
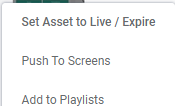
Select the “Set Asset to Live / Expire” option at the top.
-
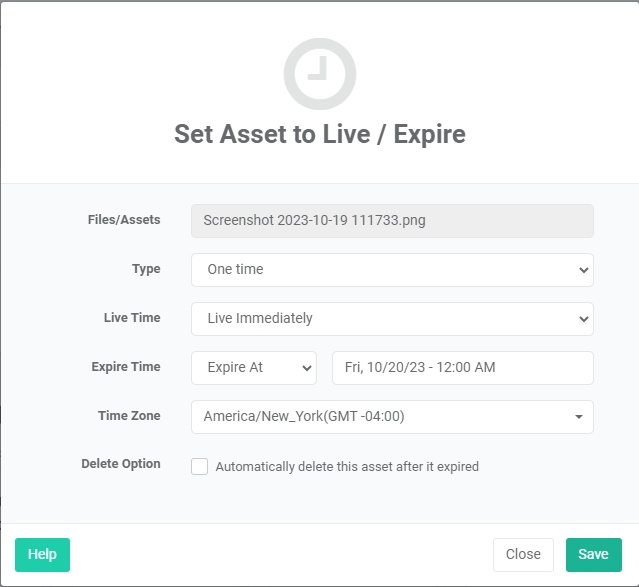
For Expire Time, select Expire At
-
Set the time for the file to expire.
-
Unless you are reusing the content, select Automatically delete this asset after it expired.
-
Ensure that the parameters make sense for your asset and click “Save.”
Make sure to check that the time is correct. Don’t get fooled by midnight on Friday when you actually meant midnight on Saturday!
-
After hitting save, your asset will follow the schedule that you set for it.
Creating a Playlist
Now that your asset(s) have been uploaded, it’s time to create a playlist to display that content! There are some pre-built ones already so if those cater to your needs, you can follow the steps of adding the files to those pre-existing ones.
-
Navigate to the “Playlists” tab located at the top ribbon.

-
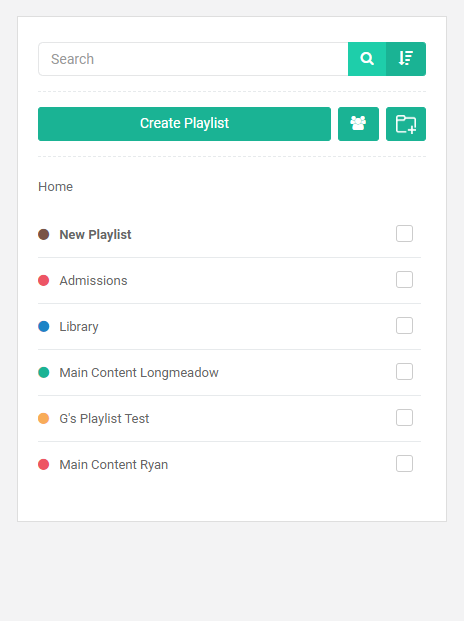
Select the “Create Playlist” button located on the left hand side of the screen.
-
The New Playlist will automatically be added to the list of playlists and be ready for assets to be added into it.
-
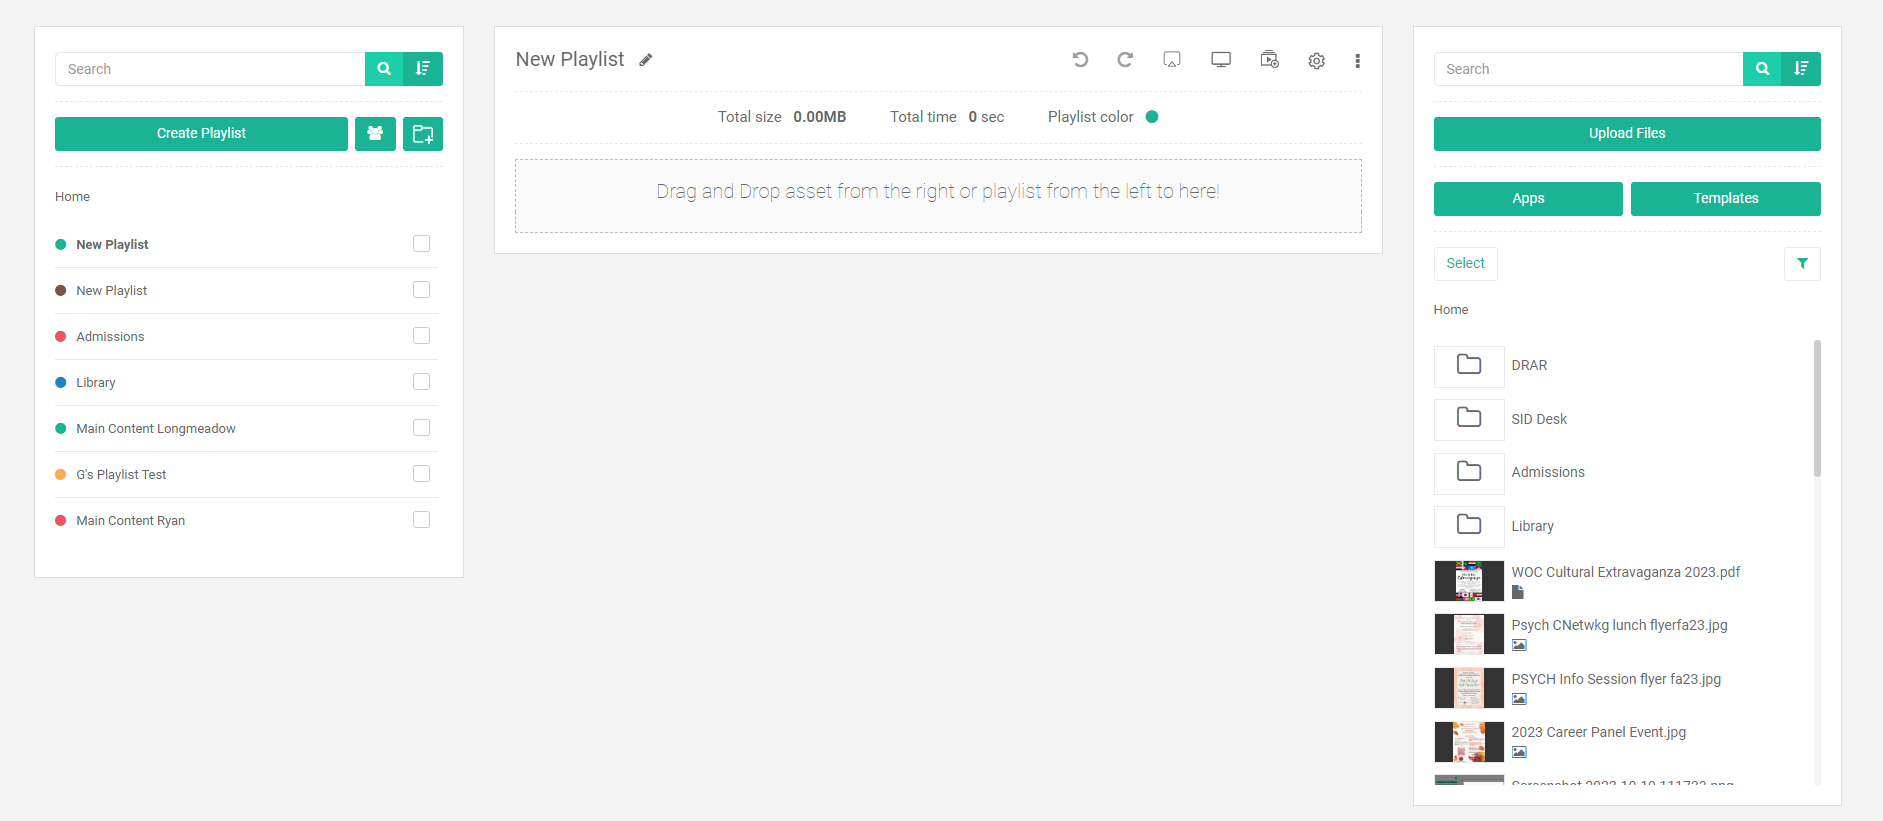
Drag and Drop assets from the right or playlists from the left into the open space.
-
After adding your assets, you can change the time for which each item displays. You can set it to whichever time is best suited but 20 seconds is recommended. To change the time, select the pencil icon located next to the current time. By default, assets will display for 10 seconds.

-
After adding all of the assets that you want in your playlist, the last step is to rename the playlist. You can do so by selecting the pencil icon next to the default name.

Assigning a Playlist to a Screen
The final step in displaying content on campus is to assign the playlist to a screen and it is arguably the easiest part of the process.
-
Navigate to the “Screens” section located at the top ribbon.

-
From there, find the screen you want to add your playlist to and click the the “Edit” button the right hand side.

-
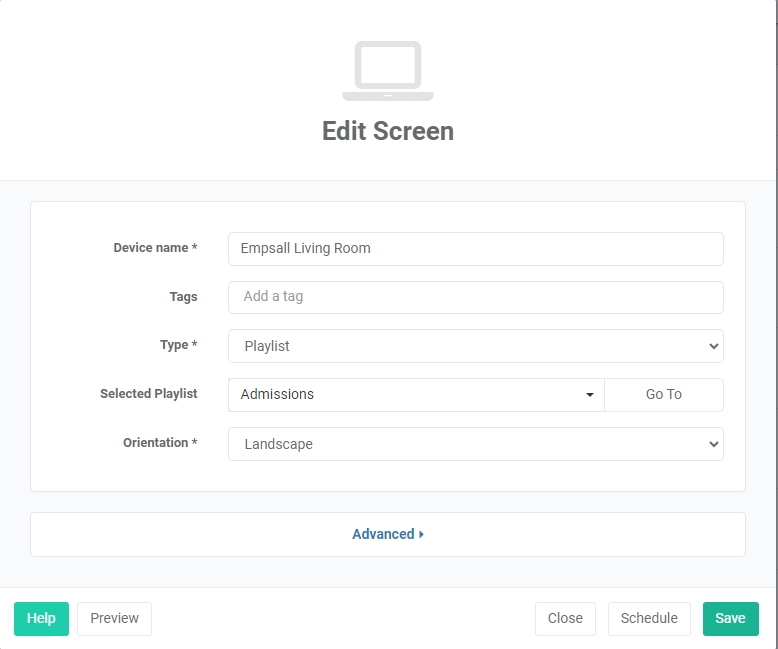
After the edit window pops up, choose the playlist that you want to display. Should look something similar to this.
And voila! You have just successfully completed all of the steps needed to get your content displayed in OptiSigns!