
How to Enable Appointment Scheduling in Google Calendar
If you’d like to preview the new Appointment Scheduling feature in Google Calendar (similar to Calendly), this article will walk you through how to enable the feature.
If anything is unclear or confusing in this article, please contact the A&IT Helpdesk via email at techsupport@baypath.edu or via phone at (413)565-1487.
In a web browser, navigate to Google Calendar (calendar.google.com)
In the upper-right corner, select the cogwheel, then Settings

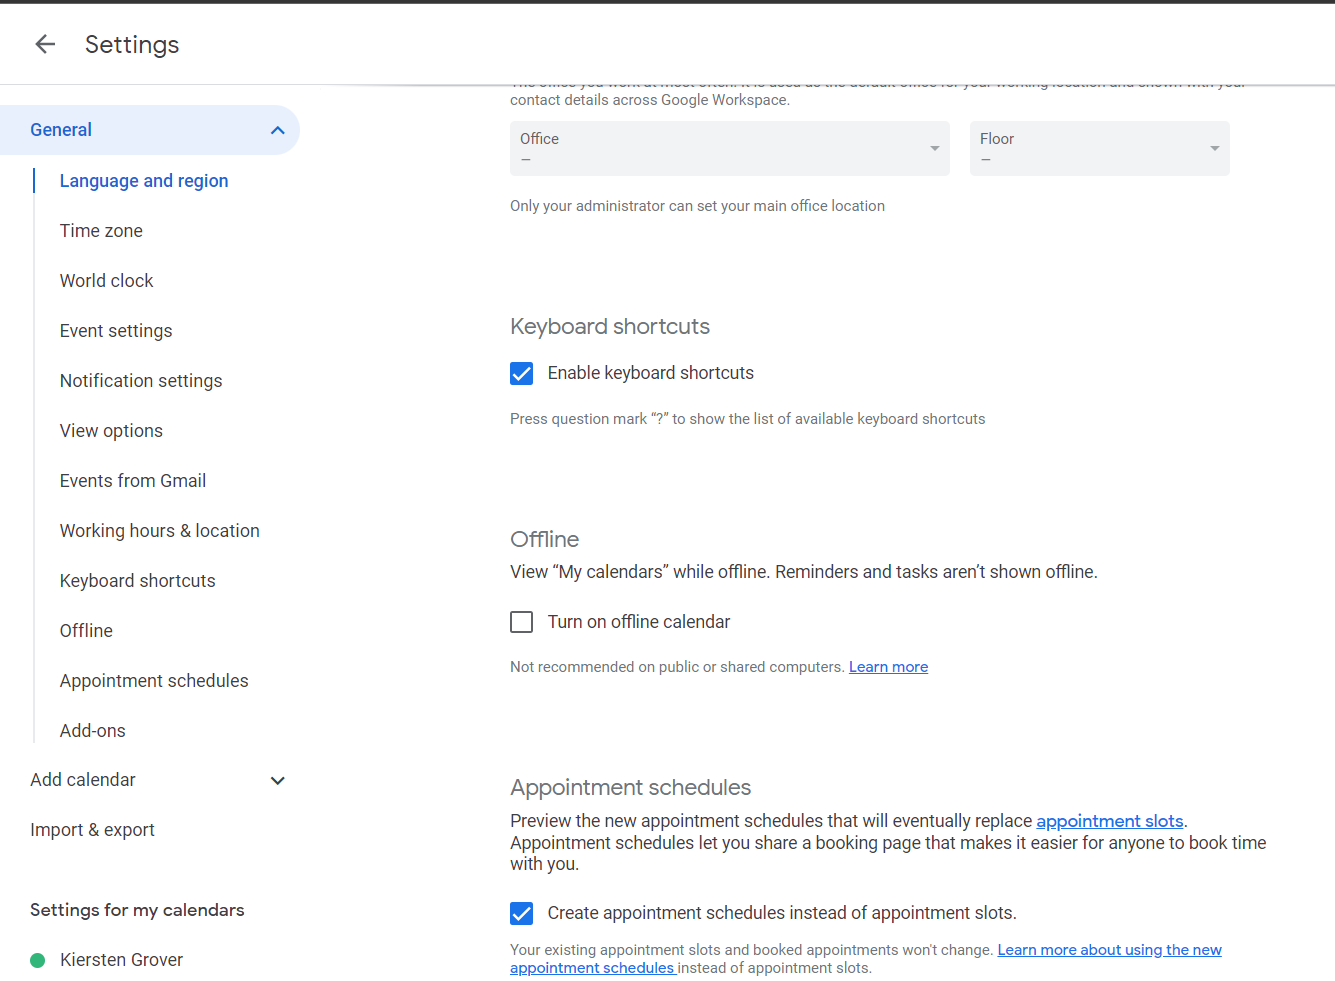
On the Settings page, scroll to the bottom. Under Appointment Schedules, check the box next to Create appointment schedules instead of appointment slots.
Once you’ve enabled the feature, you can set up an appointment schedule by following these instructions: https://support.baypath.edu/support/solutions/articles/4000063115