Need Additional Help? If you need further assistance after reading this article, please contact the IT helpdesk via email at techsupport@baypath.edu or by phone at (413)565-1487.
-
From your computer, open Google Calendar.
-
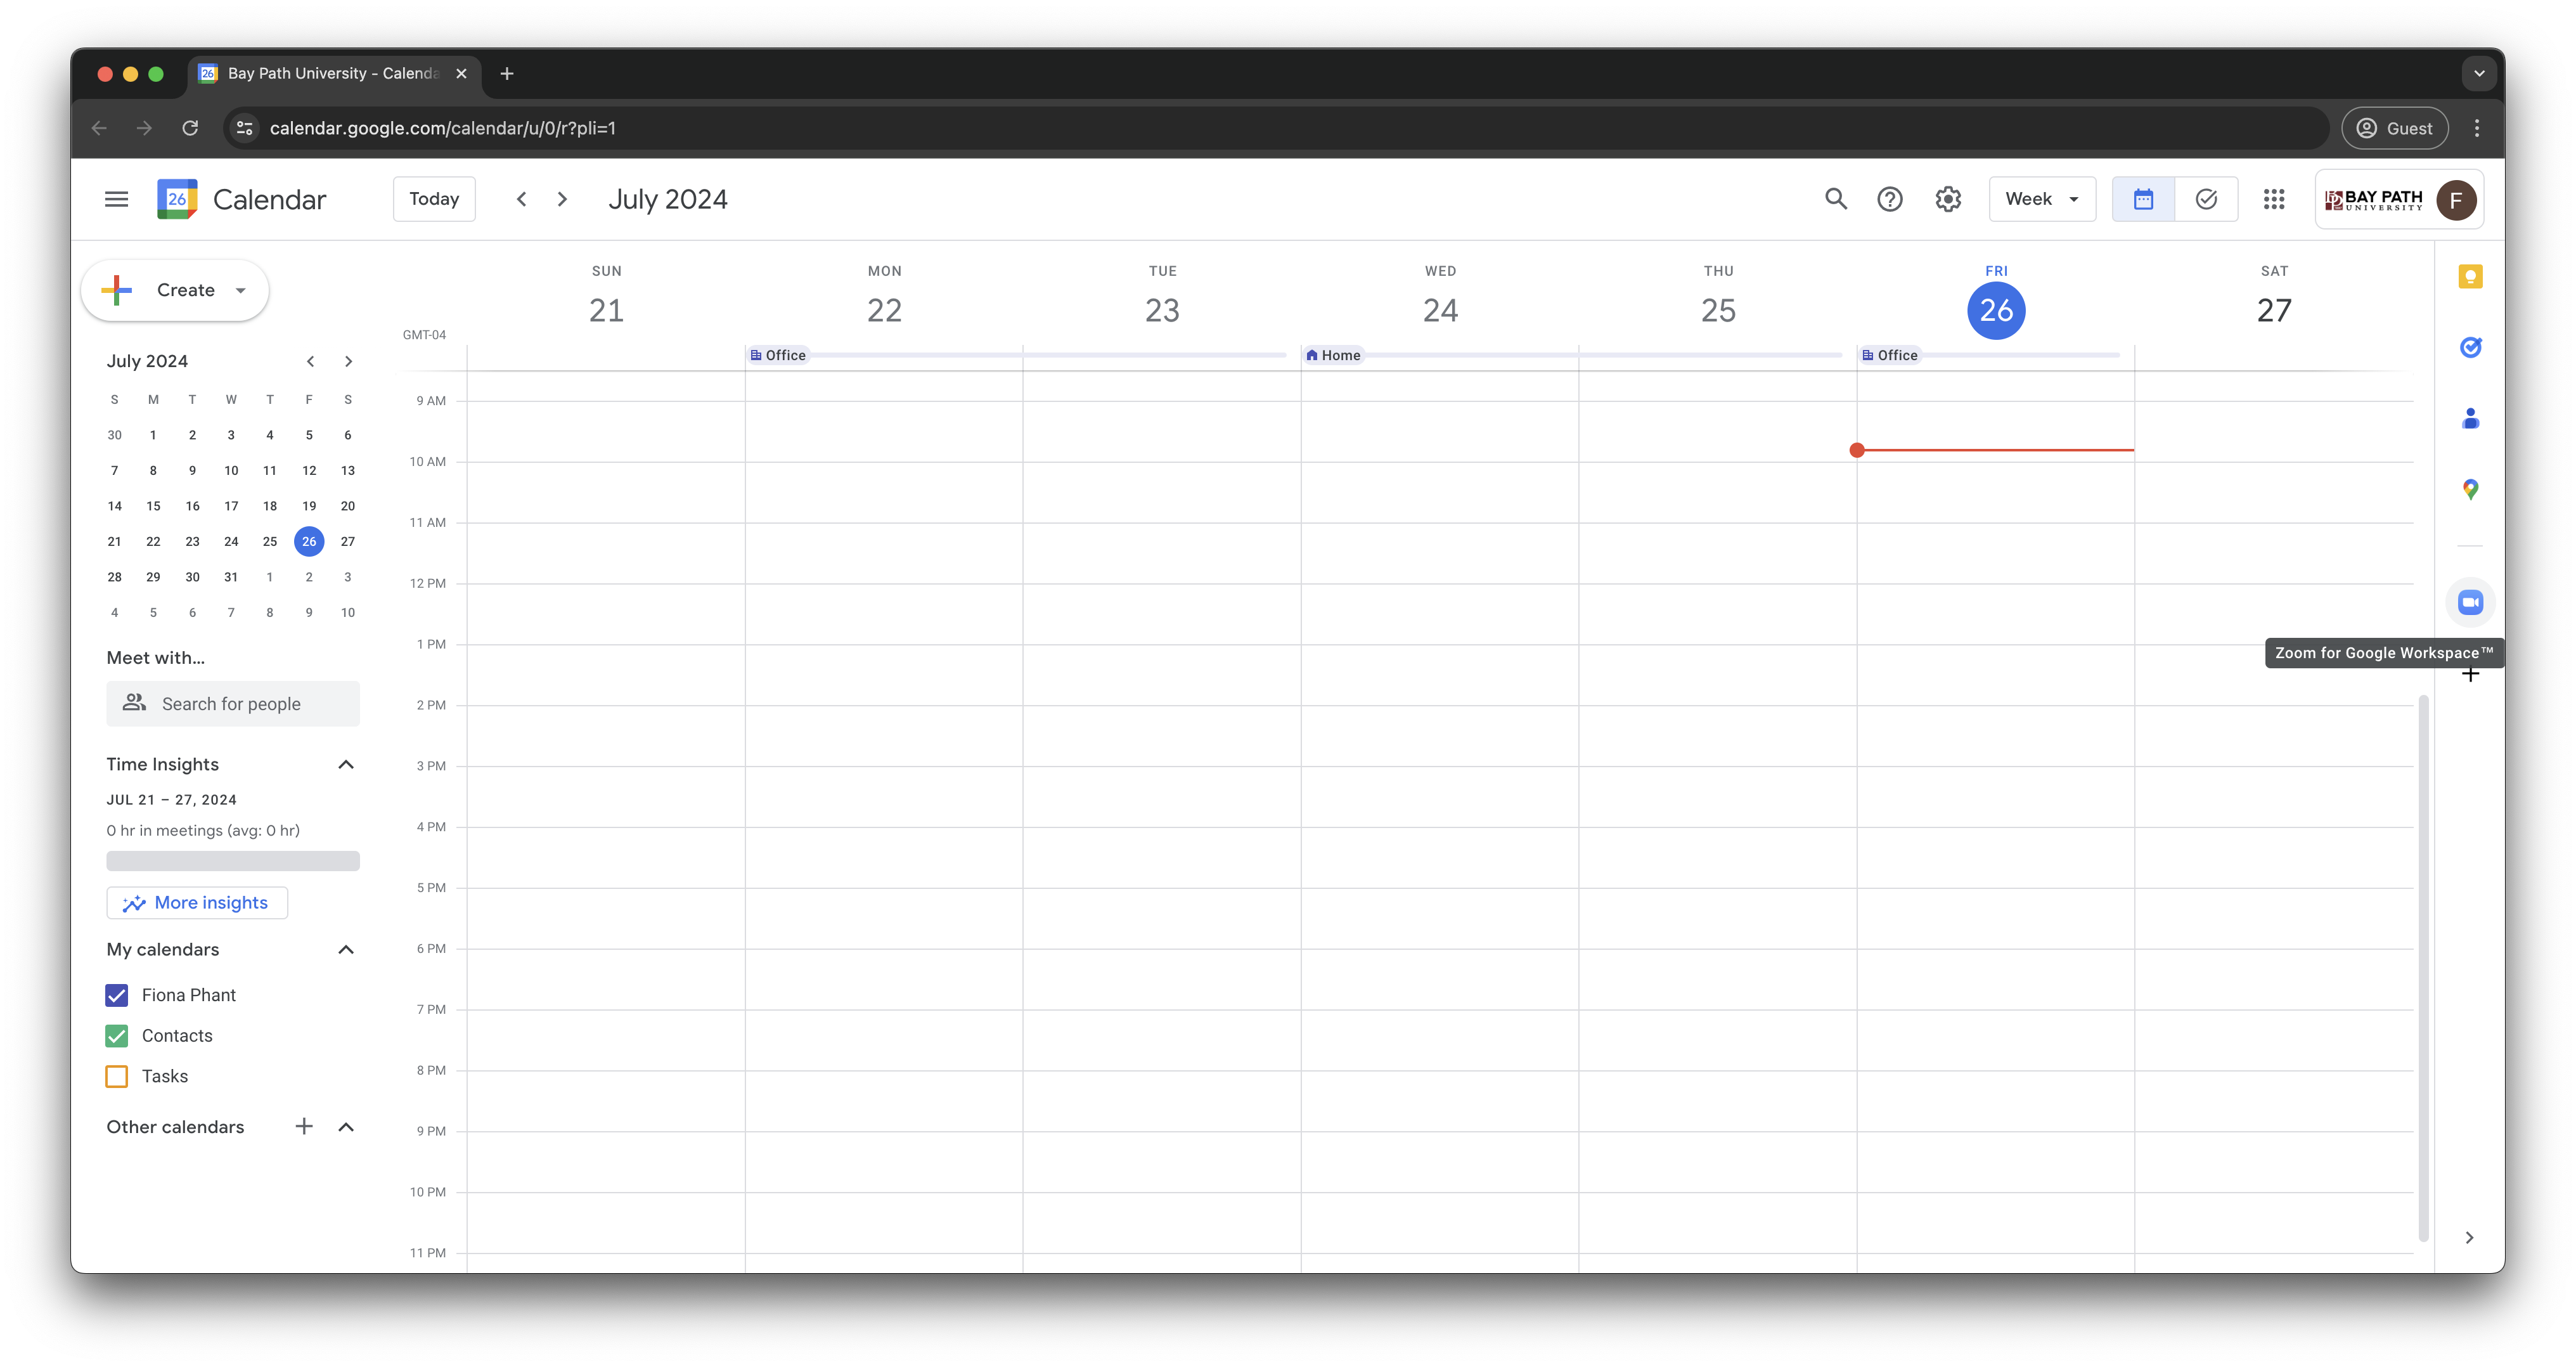
Select the Zoom add-on from the menu on the right.
-
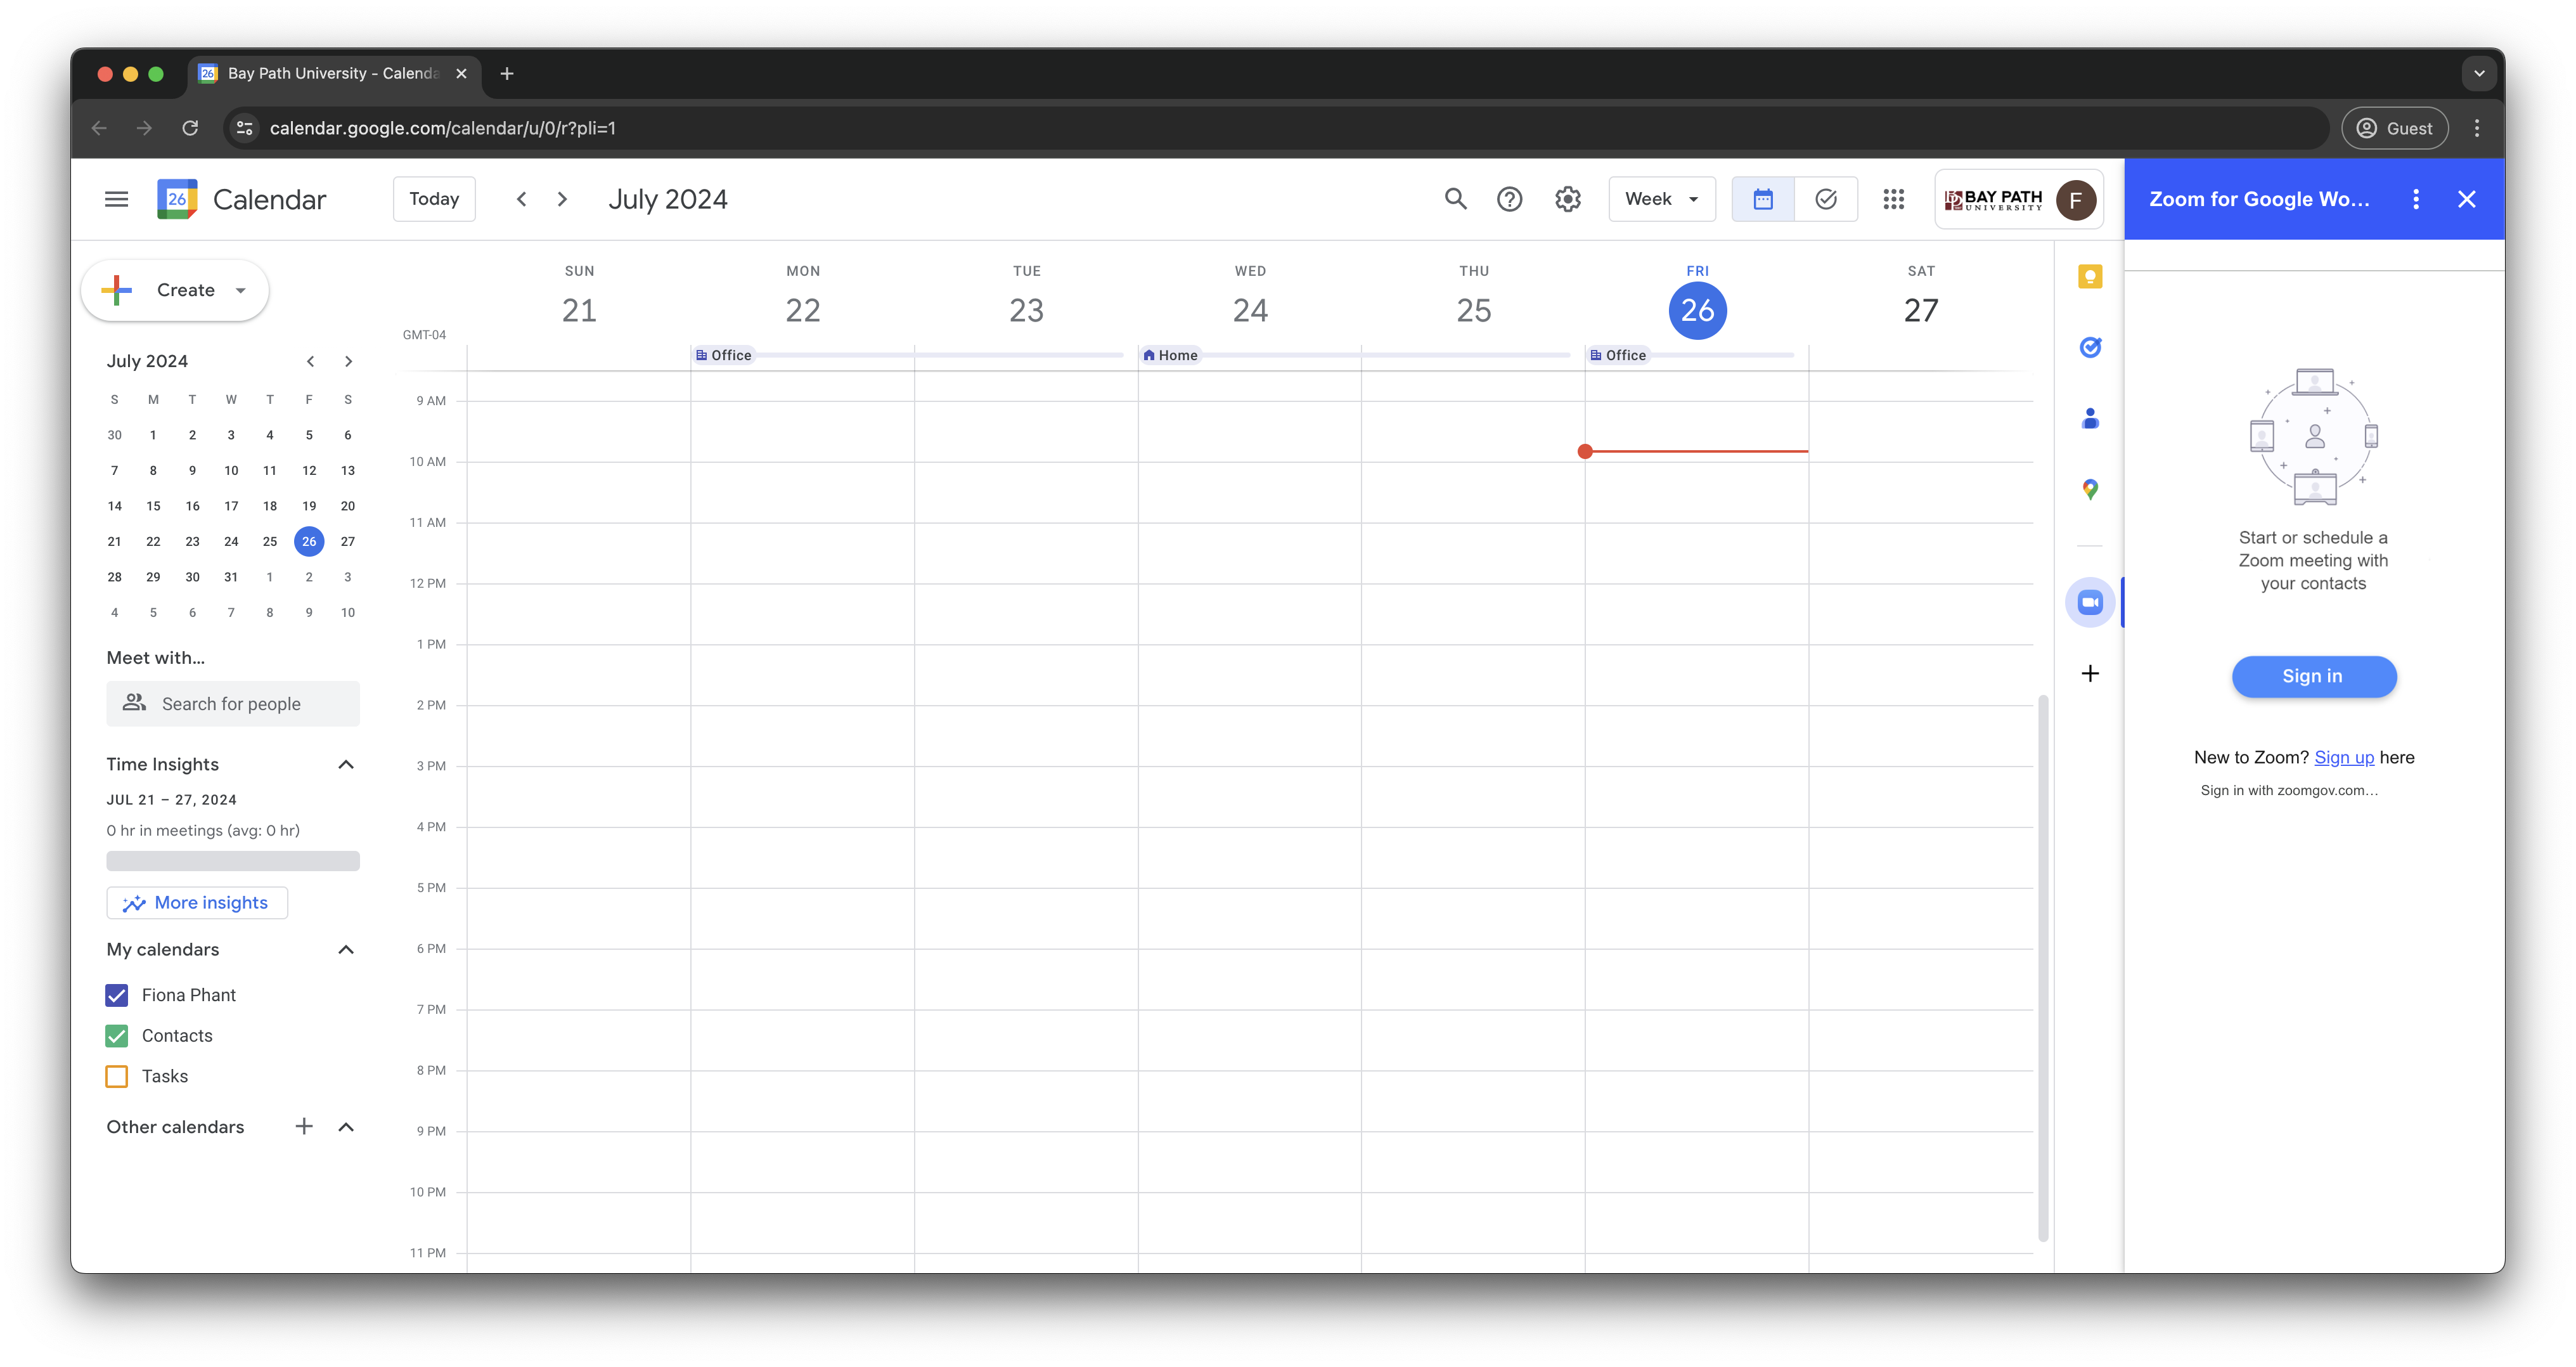
Select Sign in.
-
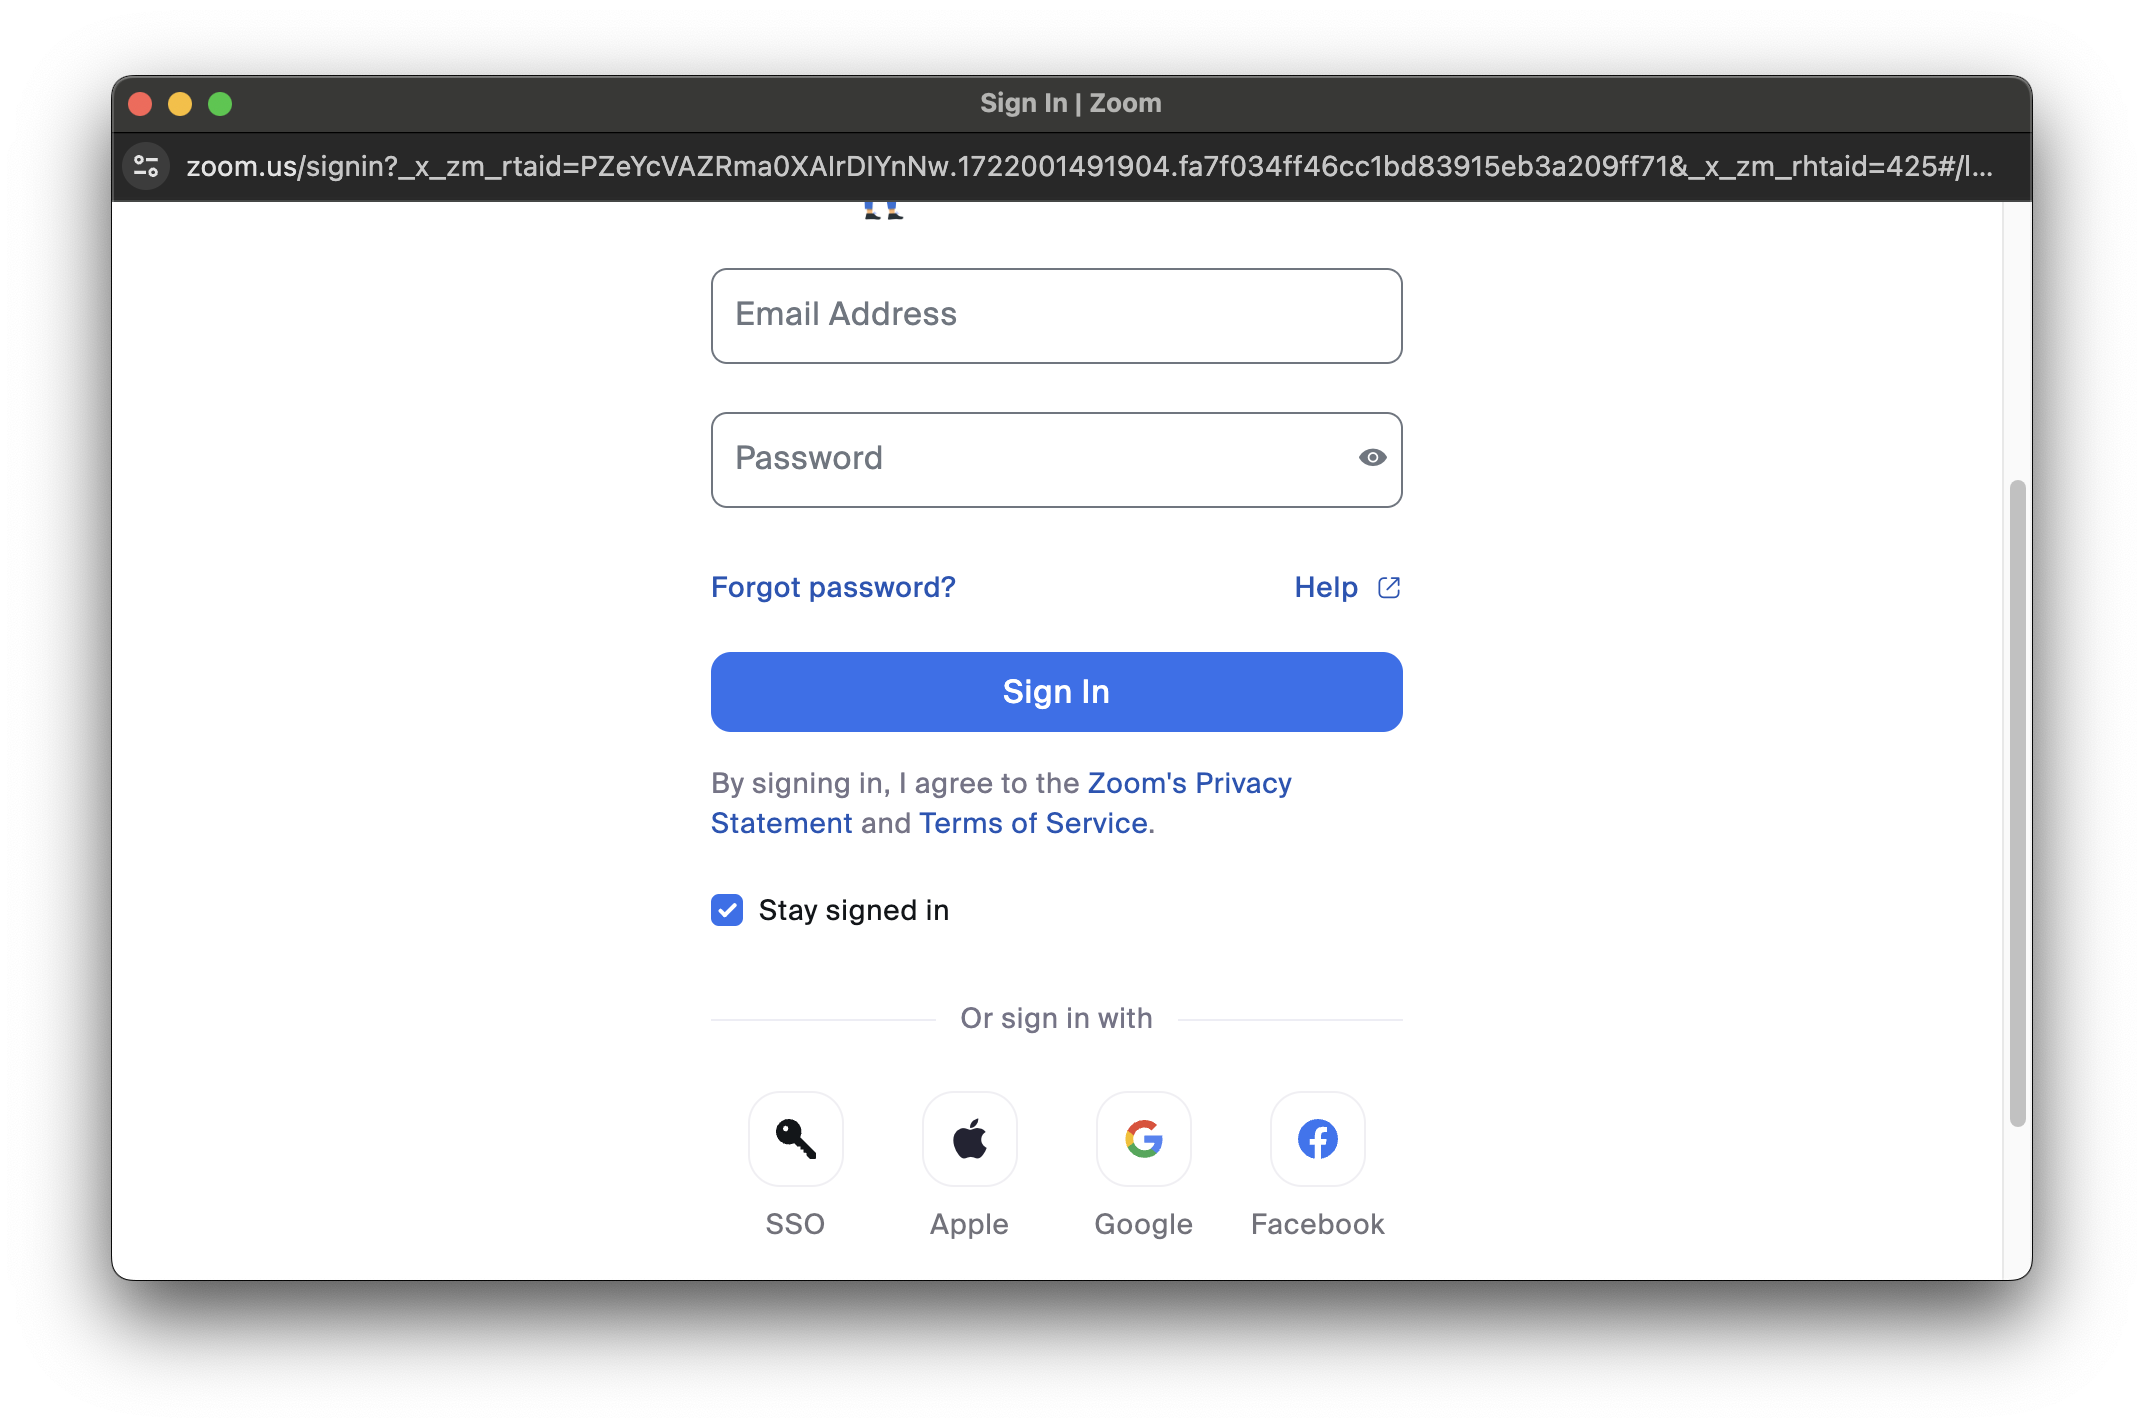
A new window will pop up to allow you to sign in. From that window, scroll down and select SSO under Or sign in with.
-
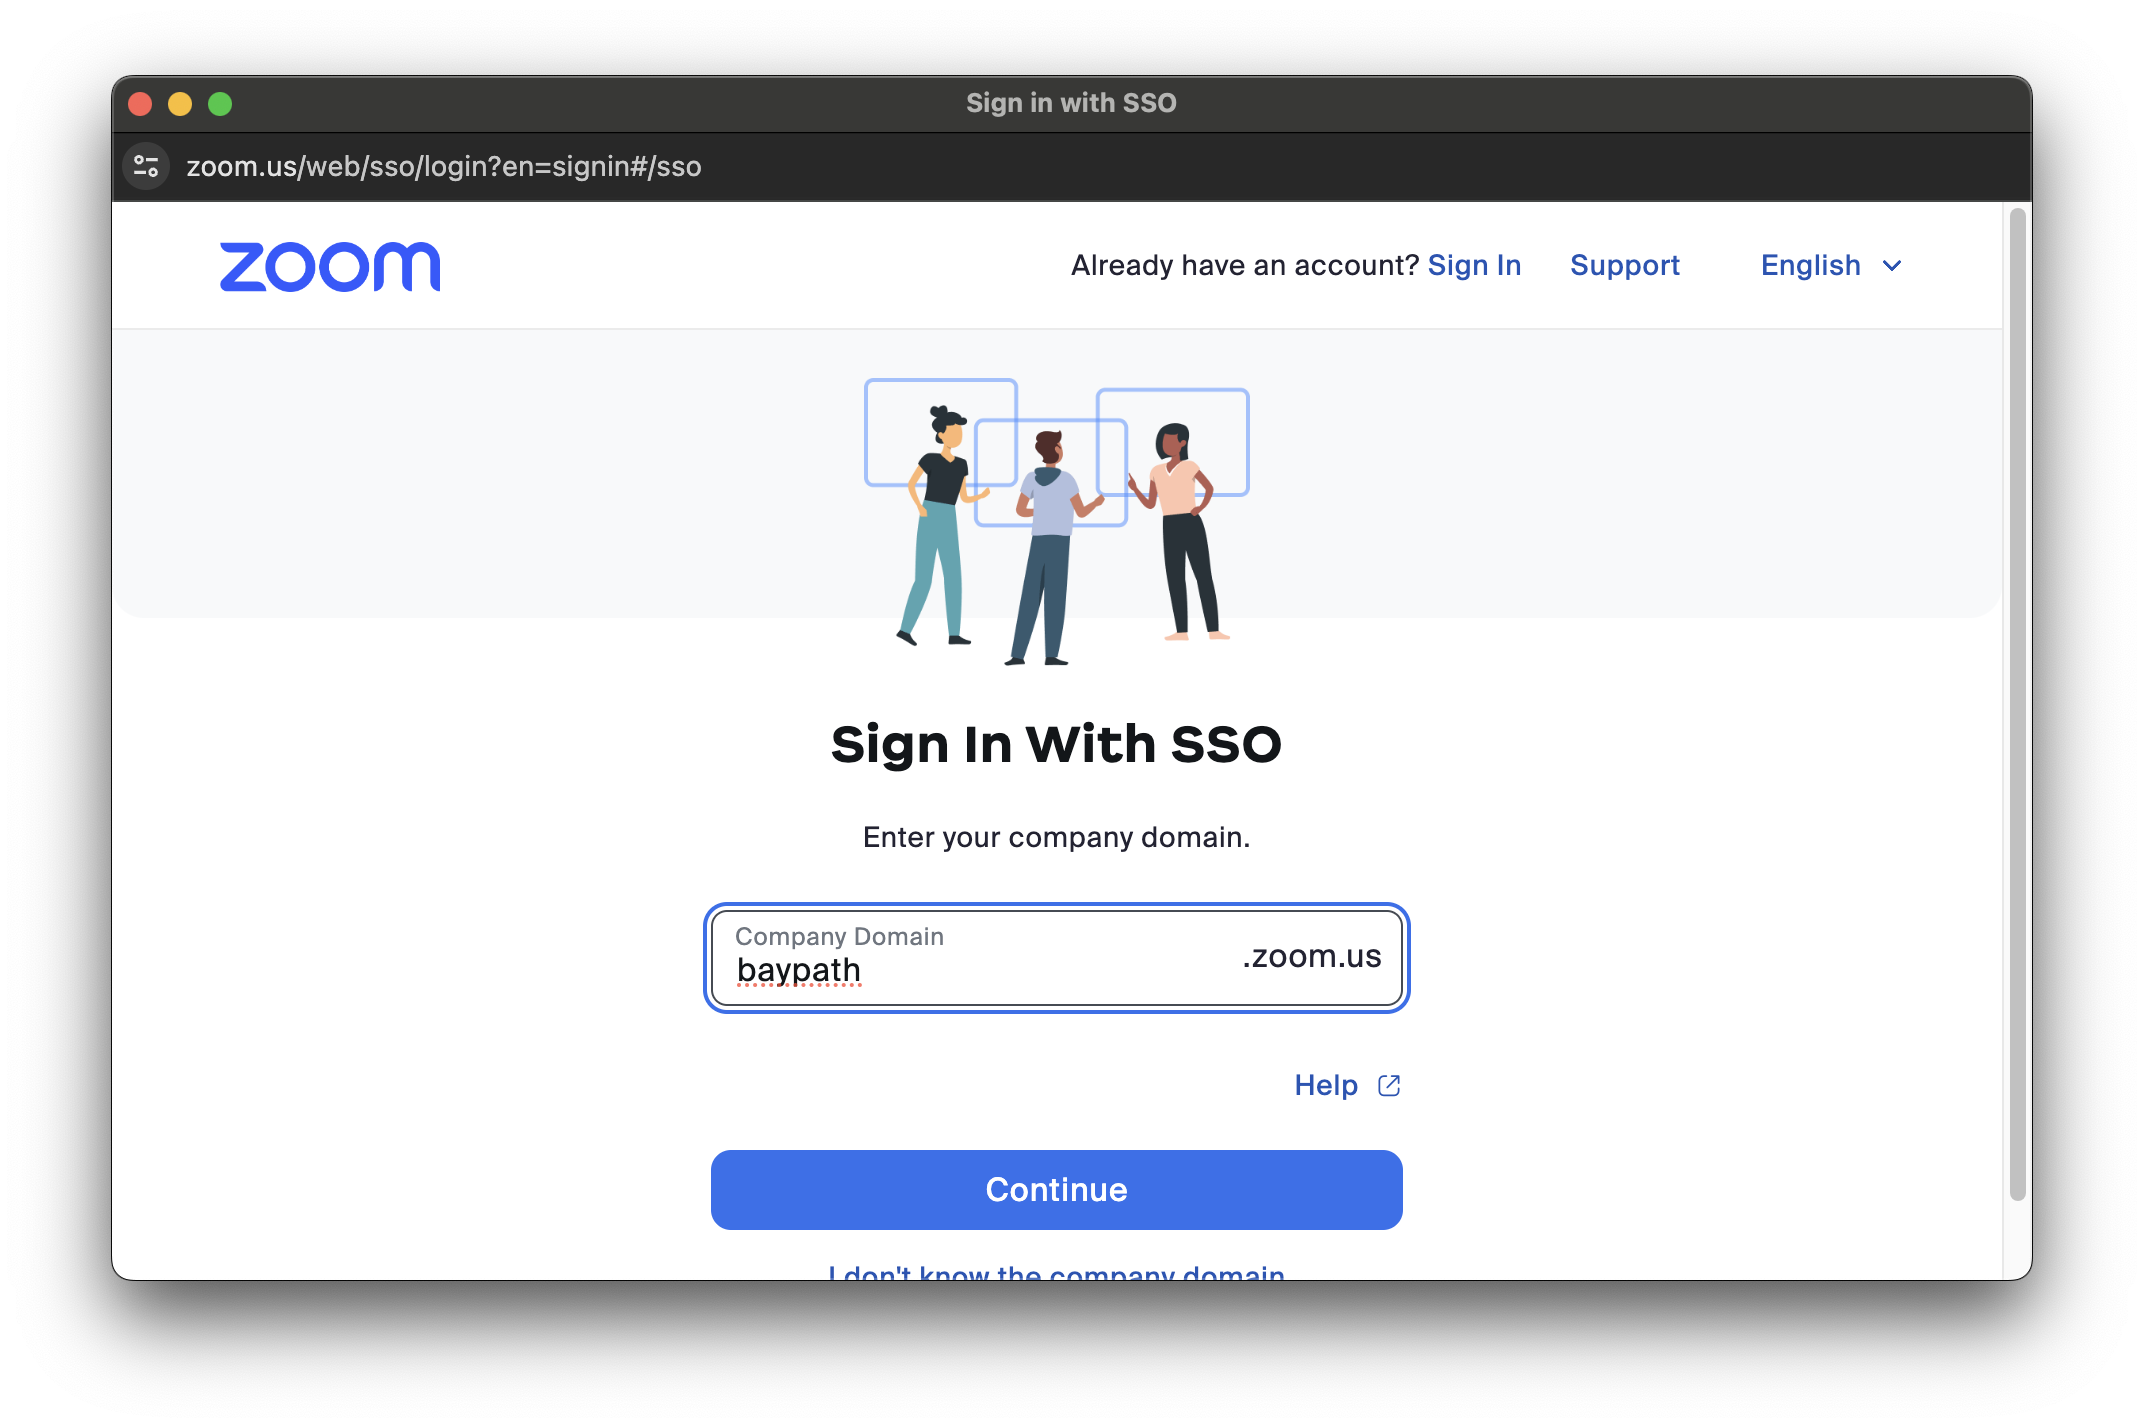
Enter baypath for the domain and select continue.
-
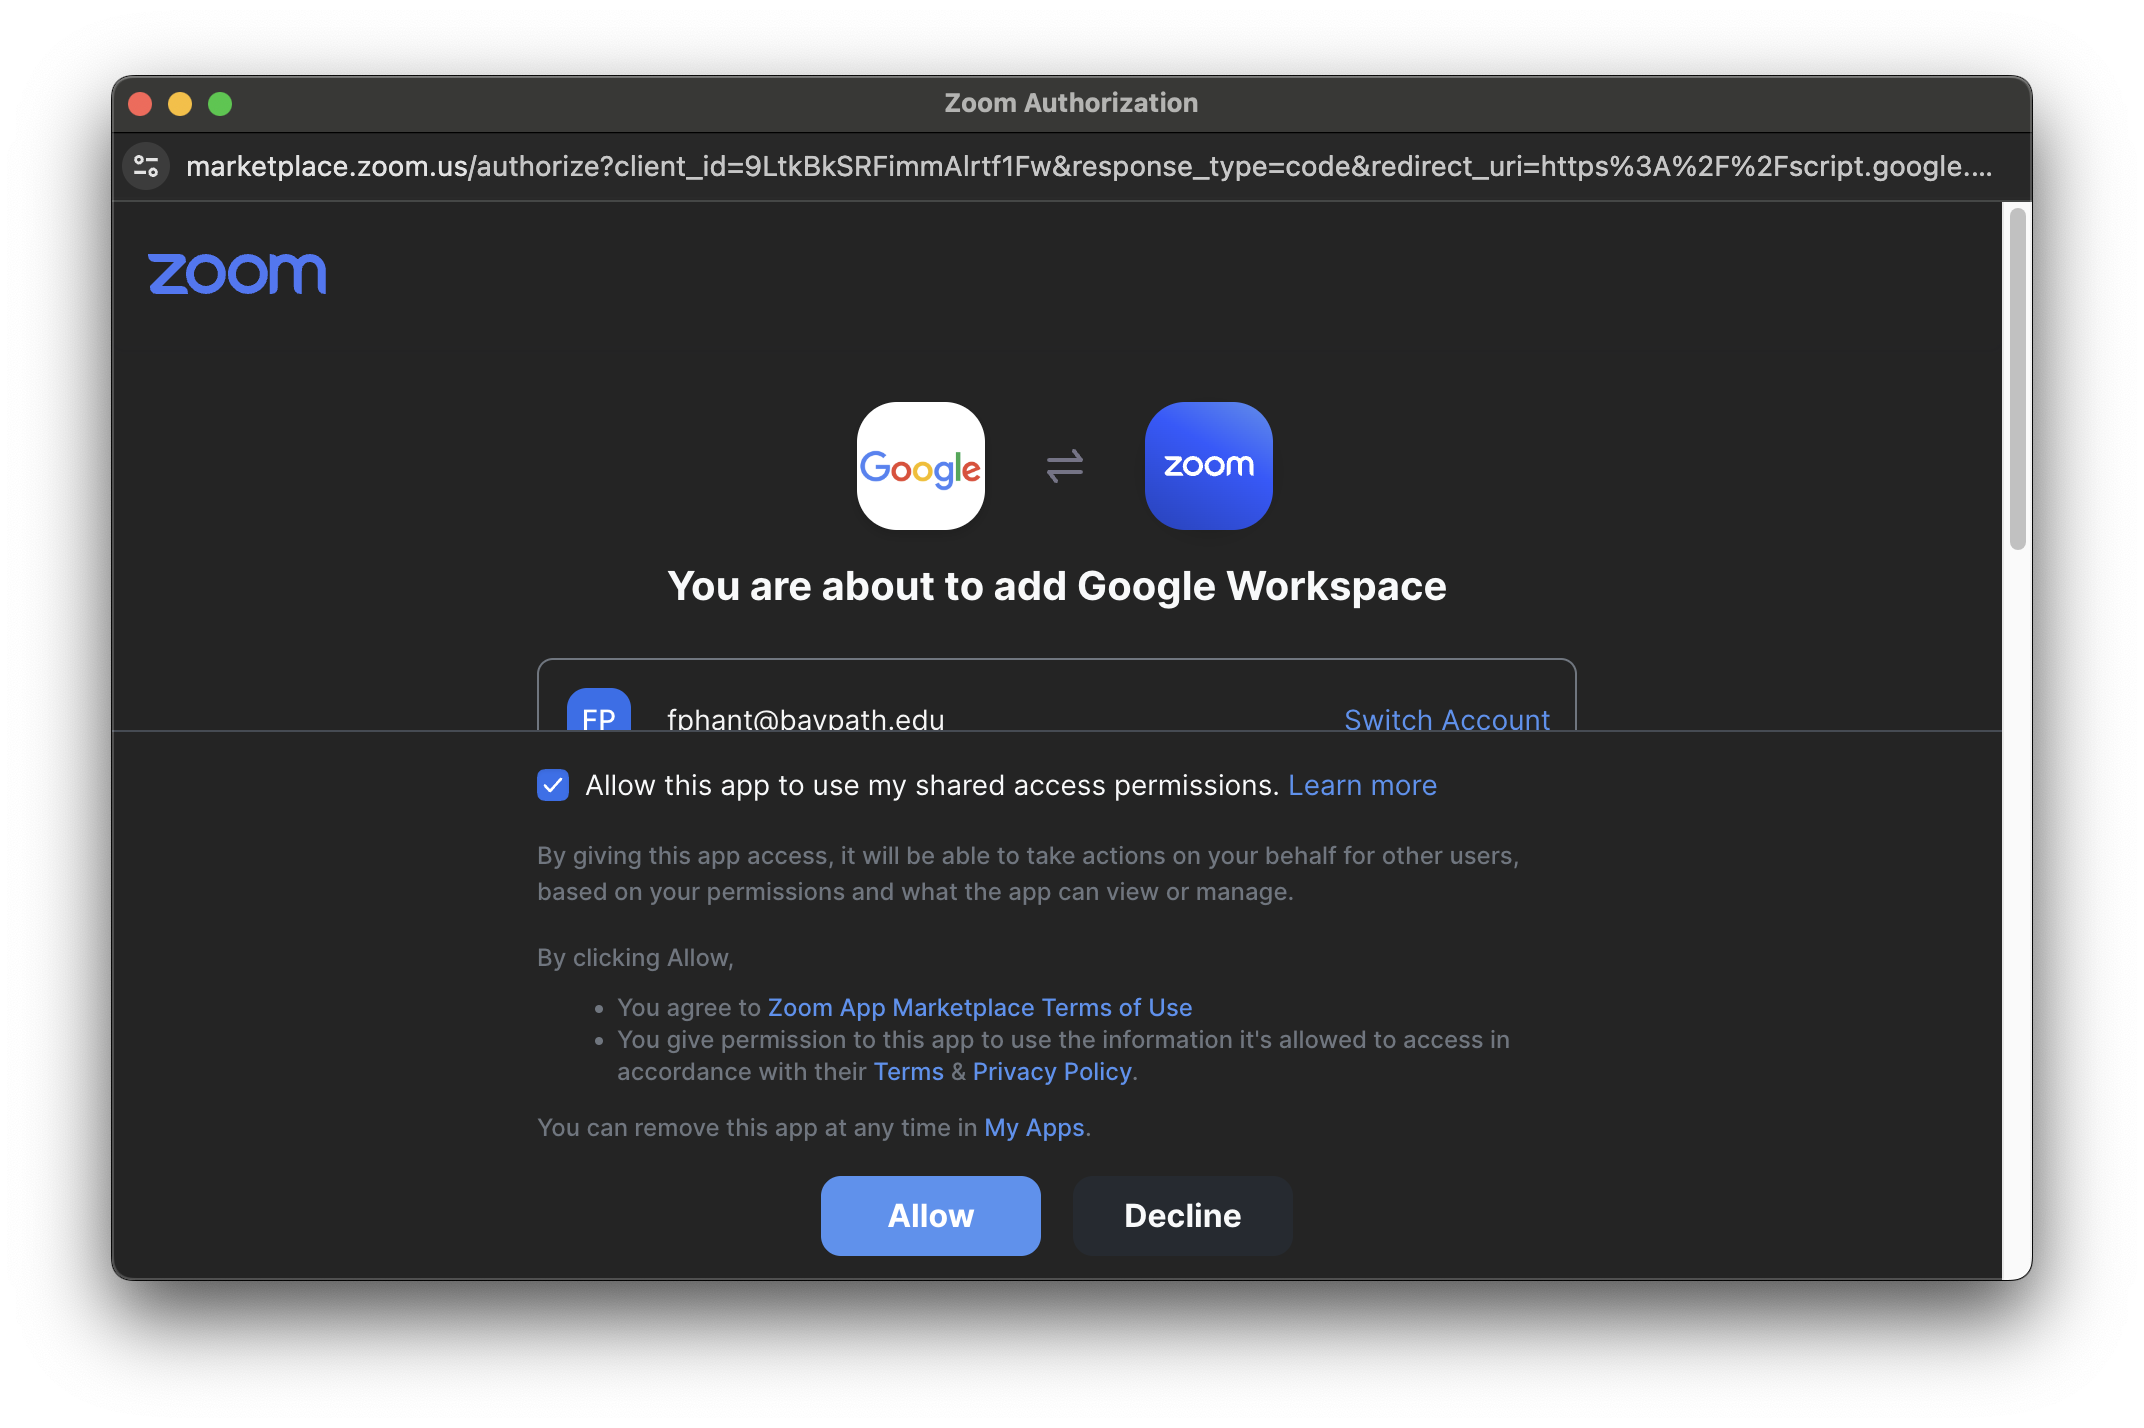
Check the checkbox next to Allow this app to use my shared access permissions. Select Allow.
-
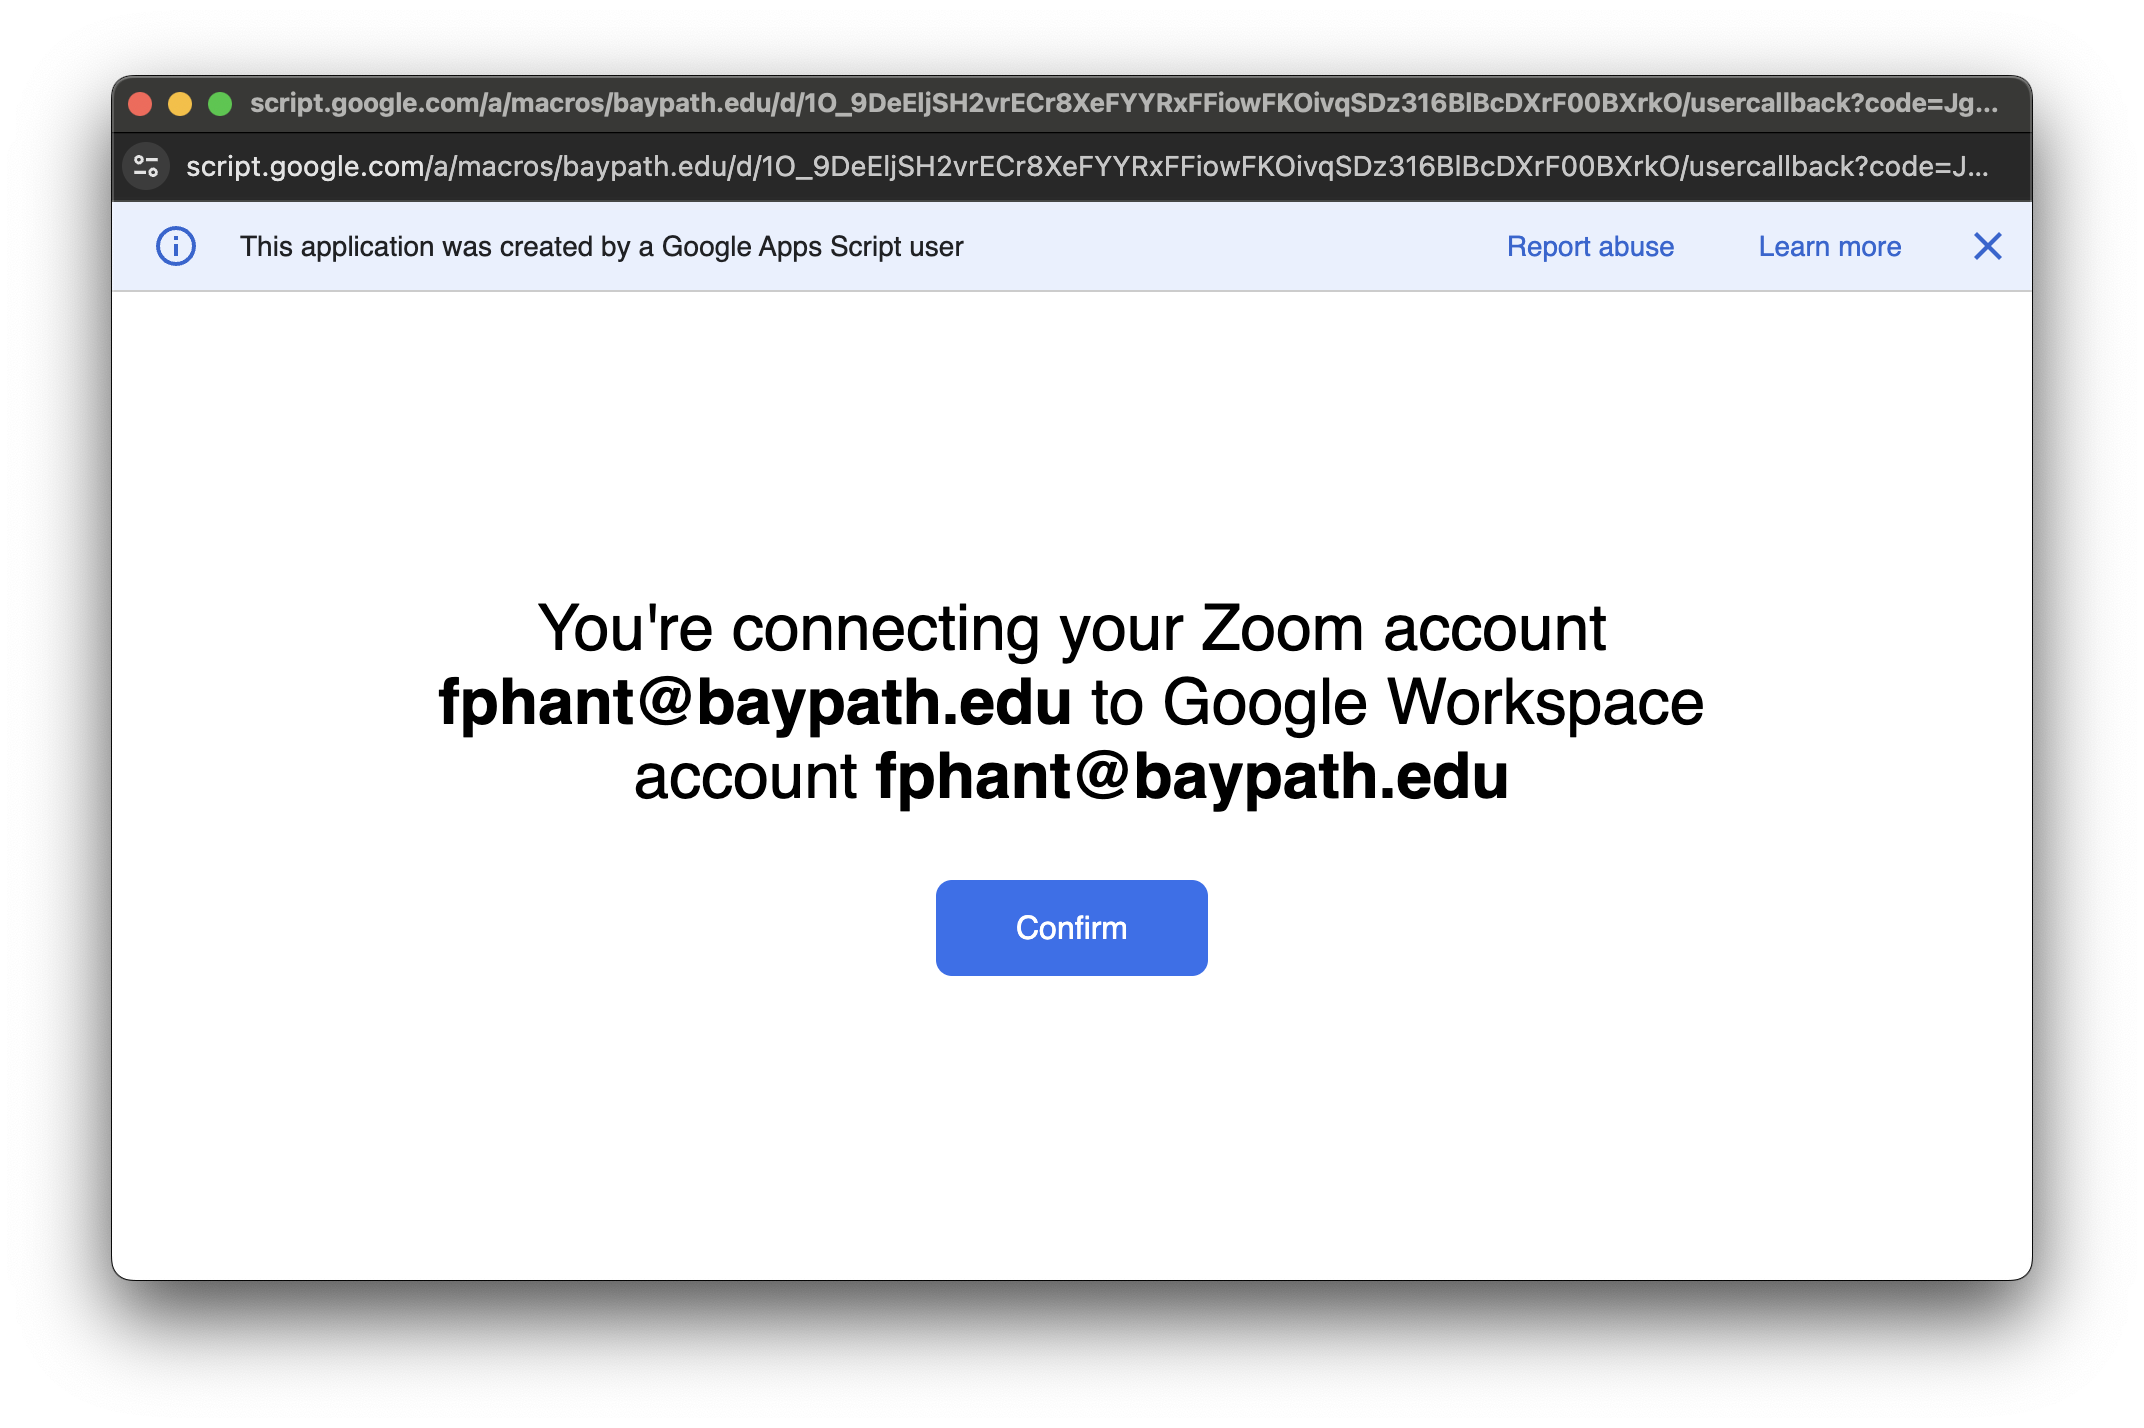
Select confirm to connect your Zoom account to your Google Workspace account
-
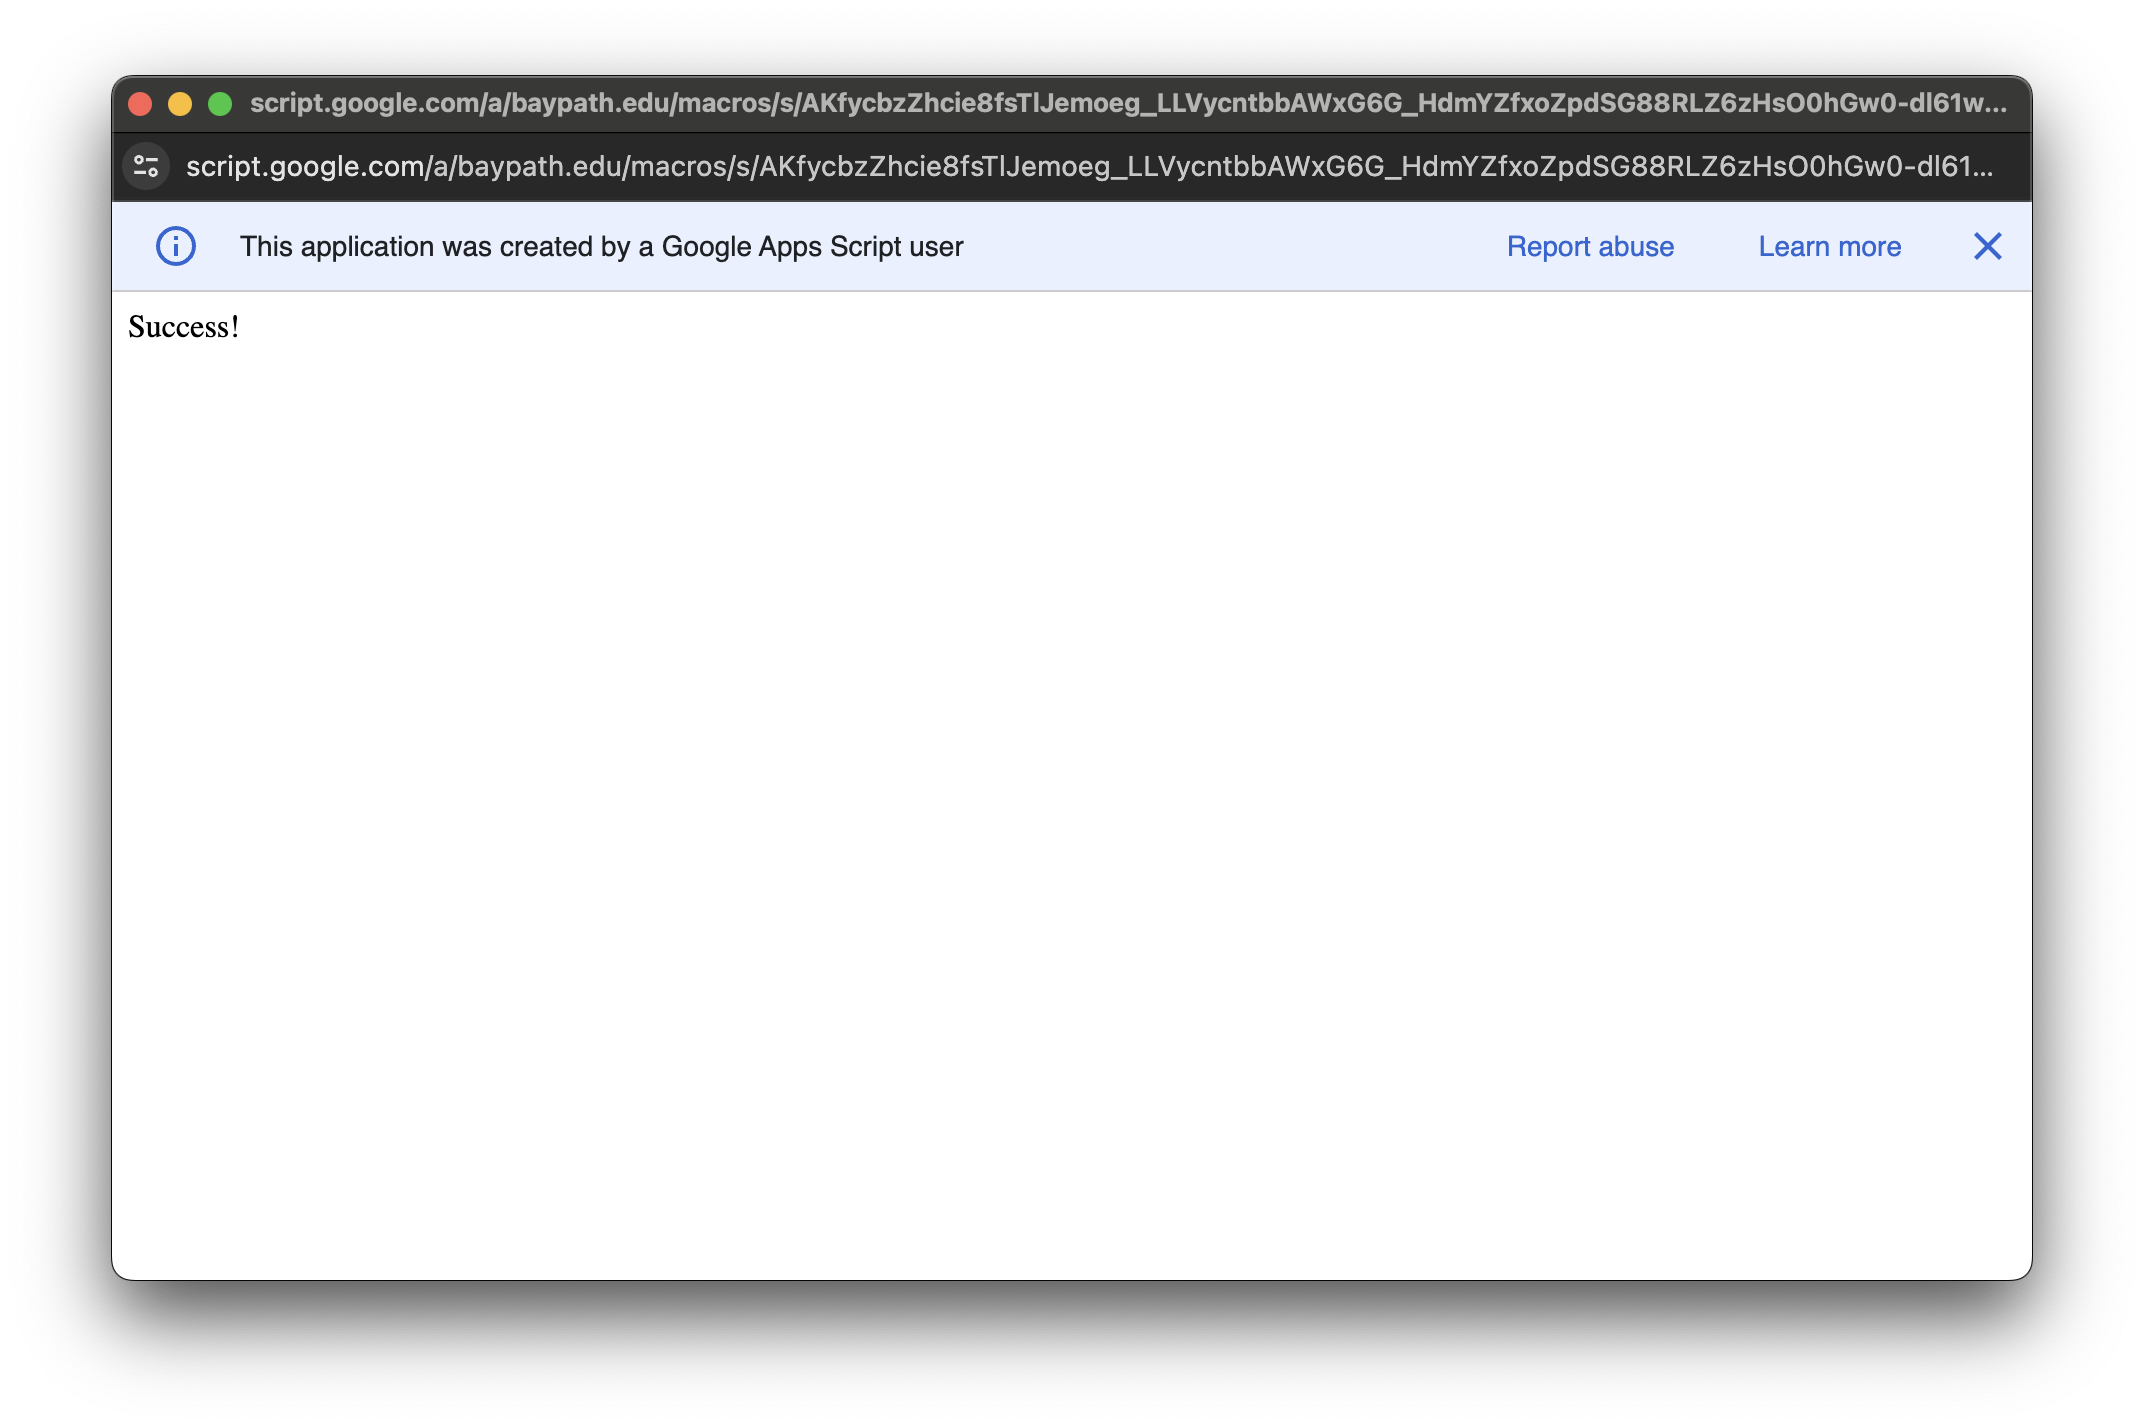
You will then see a message that says Success! You may close this window.
-
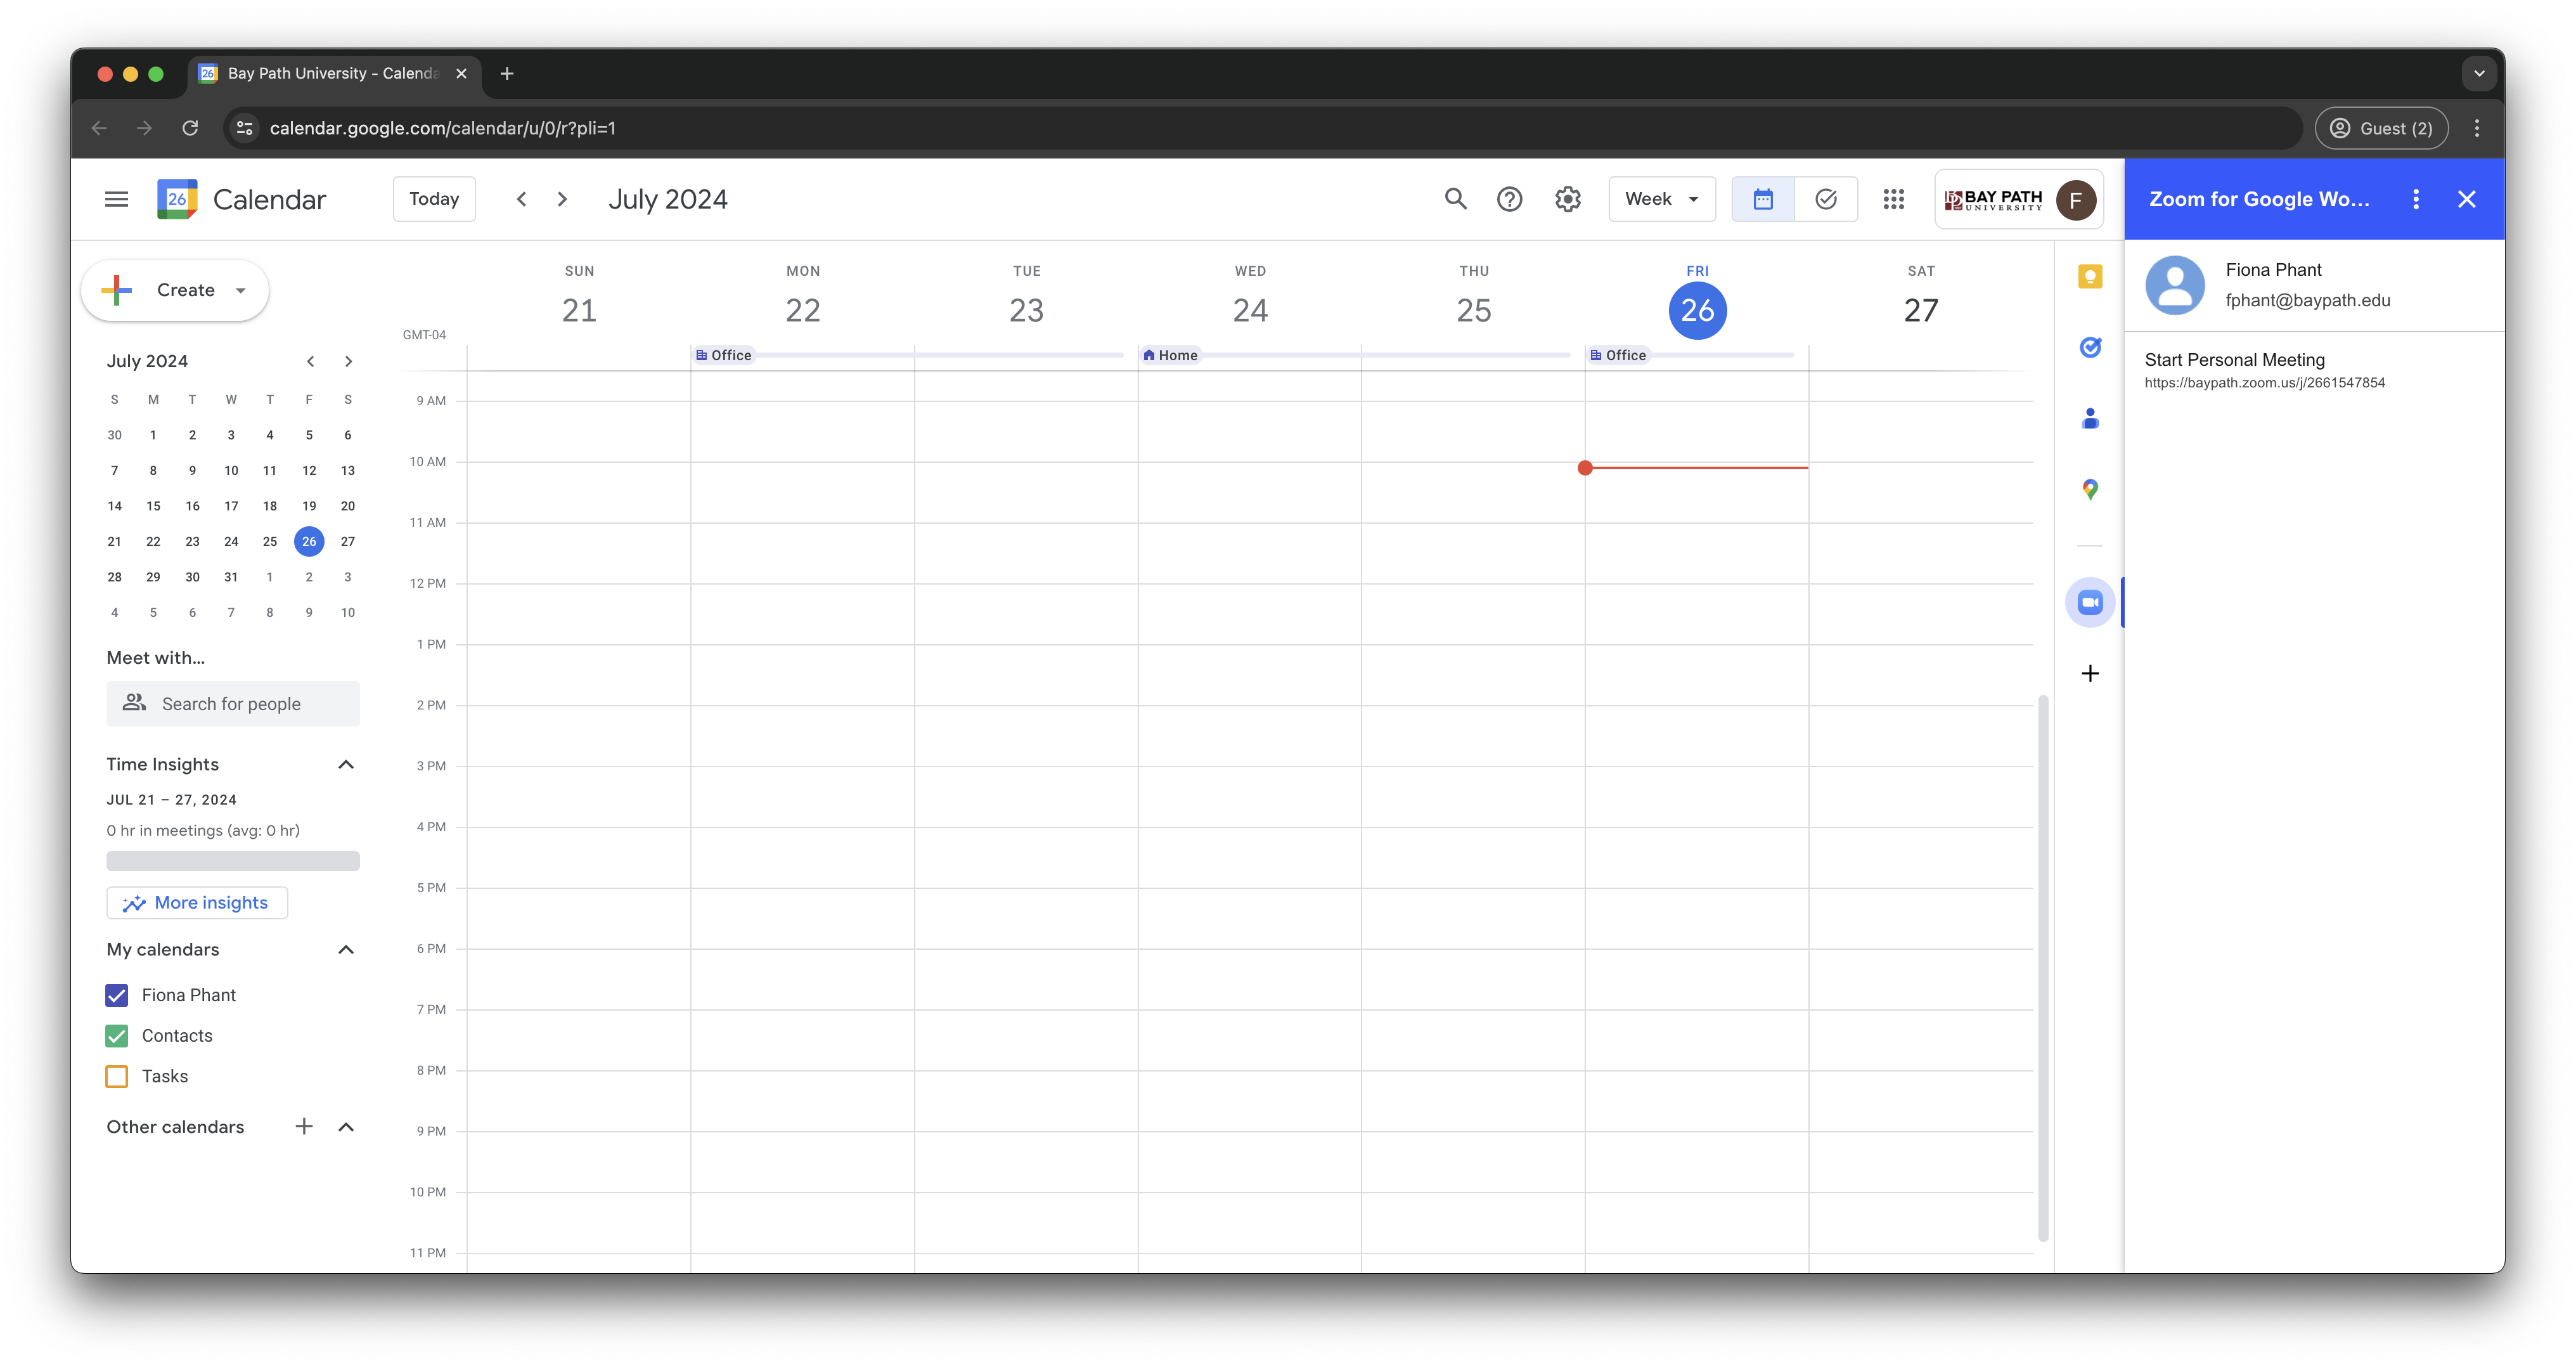
You will then see your Zoom account in the Zoom add-on window. You have successfully connected your Zoom account to your Google Workspace account!