
Installing ScreenPal
Need Additional Help? If you need further assistance after reading this article, please contact the IT helpdesk via email at techsupport@baypath.edu or by phone at (413)565-1487.
Installing ScreenPal for Windows
Go to screenpal.com. In the upper right corner, log into your existing account, or click the Sign Up button to create a new account.
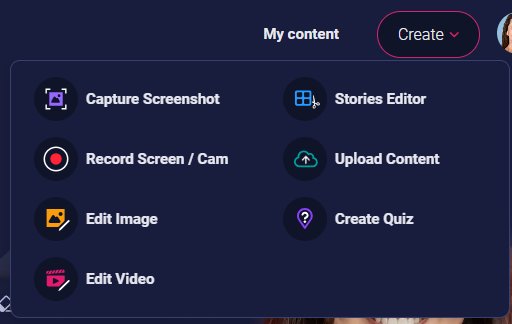
Click the Create button at the top of the screen and then select Capture Screenshot, Launch Recorder, or Edit Video.

Follow the prompts to download the ScreenPal installation package. This may include pop-up notifications asking you to click Download, Open, Run, or Allow. The appearance and placement of these notifications vary depending on the web browser and operating system you are using.
After the ScreenPalSetup installation package downloads, click it to open the installer.
A ScreenPal splash screen is displayed to let you know that the application is being installed.
If you were logged into your ScreenPal account when you began the installation, you will be prompted to enter your ScreenPal password.
After you enter the correct password, the ScreenPal Project Manager opens.
Installing ScreenPal for MacOS
Go to screenpal.com. In the upper right corner, log into your existing account, or click the Sign Up button to create a new account.
Click Create and then select Capture Screenshot, Launch Recorder, or Edit Video.
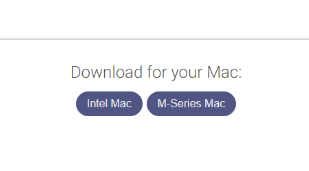
Follow the prompts to download the app. You will be asked to specify which system your Mac is currently using: Intel or M-Series.
To determine which system your Mac is using, click the Apple menu in the top left corner of your Mac menu bar and select About This Mac from the menu. Note the Processor information in this window:
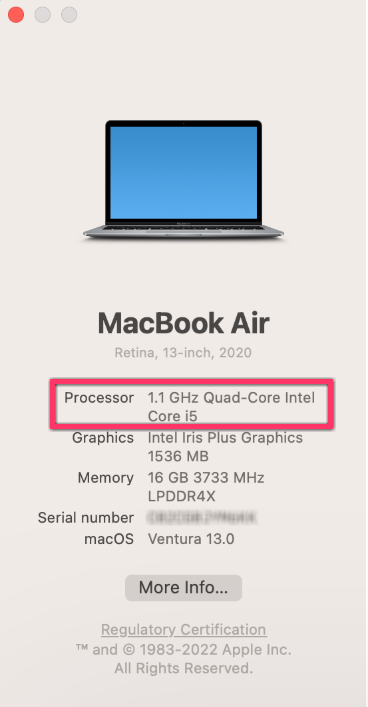
If you choose the M-series installer on an Intel mac, you will see a message that ScreenPal could not be installed. If you choose the Intel installer on an M-Series mac, it will install, but will not use the native optimized code. This may result in a slower app experience.
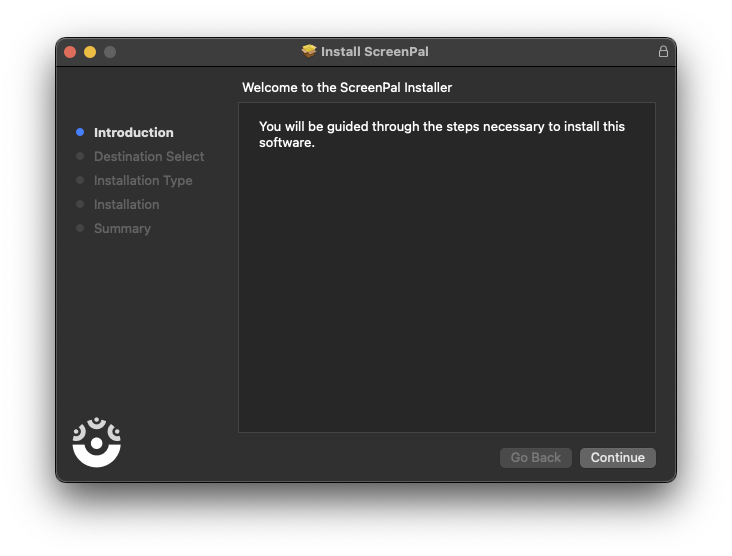
Once the app is downloaded, the Install ScreenPal dialog is displayed. Here, click Continue.
Under Destination Select, select the location on your Mac where you want to install the ScreenPal app, and then click Continue.
To perform a standard installation, click Install on the Installation Type screen.
A ScreenPal splash screen is displayed as the app installs:

If you were logged into your ScreenPal account when you began the installation, you will be prompted to enter your ScreenPal password. After you enter it, the installation completes. If you are simply upgrading the ScreenPal application, the Project Manager opens.