
How to Set Up Avaya Workplace Softphone for Windows/Mac
Avaya IX Workplace is a software application for employees of the university. With a softphone, calls are placed using desktop software, rather than a physical phone. Softphones use your device’s speakers and microphone to make the calls, however, we suggest using headphones for the best call quality. This document will walk through the steps to install and configure the IX Workplace Softphone.
Due to licensing constraints, A&IT needs to manually assign licenses for this service. Licenses are only available for employees of the university. Please submit a ticket at techsupport@baypath.edu and we'll be more than happy to assist.
Need Additional Help? If you need further assistance after reading this article, please contact the IT helpdesk via email at techsupport@baypath.edu or by phone at (413)565-1487.
Installing Avaya IX Workplace
If you are installing the Windows client, you will need Microsoft .NET version 4.8 installed. You can download it here.
Find the client installer here. Download the zip file for your operating system.
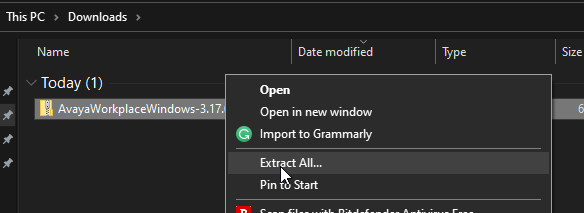
Extract the contents of the zip file. Note: Using Windows, you can right-click the folder and select Extract All… to extract the contents.
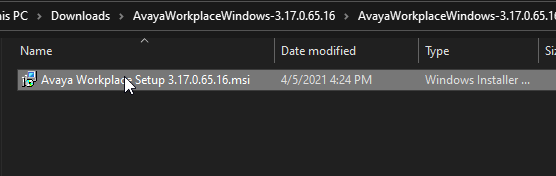
Run the installer from the extracted folder.
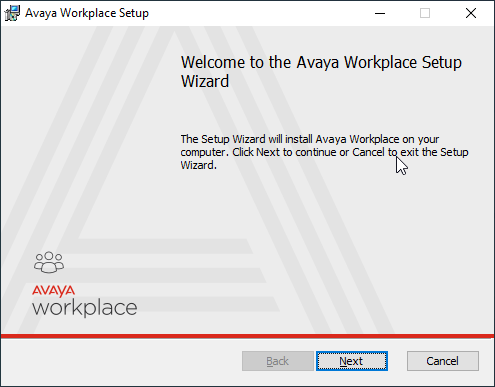
Select Next on the Welcome page.
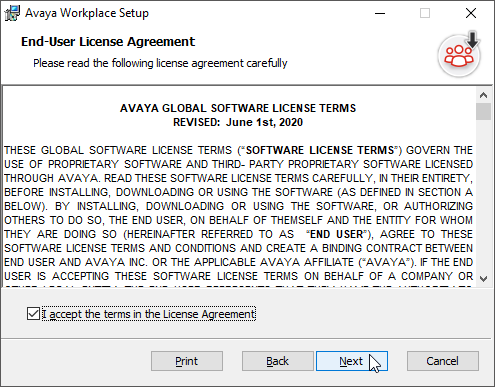
Accept the End-User License Agreement and select Next.
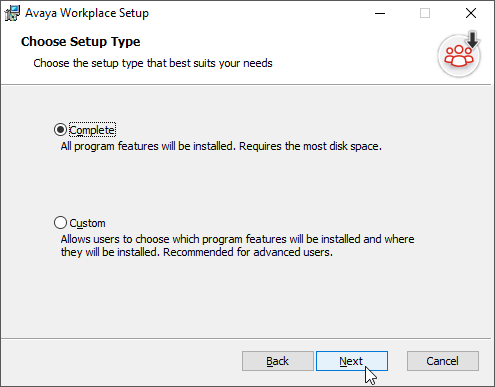
Select Next on the Choose Setup Type page.
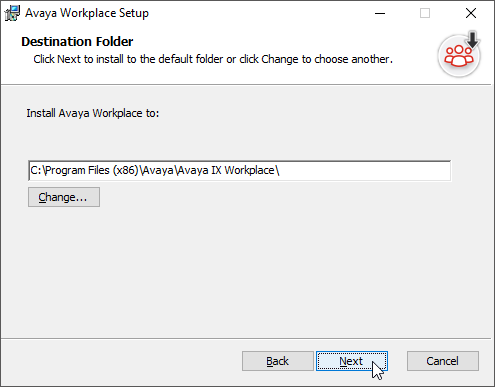
Select Next on the Destination Folder page.
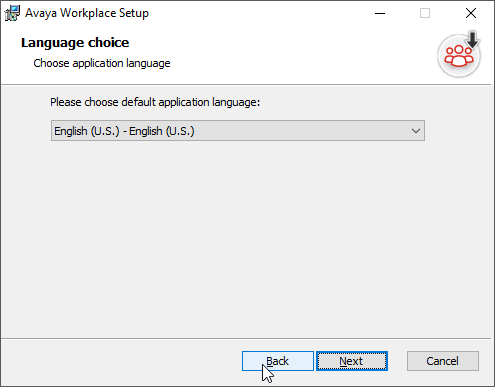
Select Next on the Language choice page.
Select Install on the Ready to install Avaya Workplace page.

Select Yes if you are prompted with a User Account Control window.
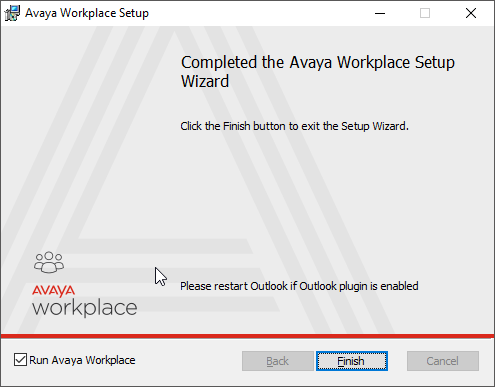
Select Finish after Avaya Workplace has been installed. Avaya Workplace will open automatically.
Logging in to Avaya IX Workplace
Once you have installed the application, you can use these instructions to log in.