
Using ScreenPal for Students
Need Additional Help? If you need further assistance after reading this article, please contact the IT helpdesk via email at techsupport@baypath.edu or by phone at (413)565-1487.
Start Recording with ScreenPal
If you need to install ScreenPal, please see this article.
To launch the recorder, visit the Screen Recorder page on our website.
Click Launch the free recorder.
Once installed, it’s simple to launch. Just click the ScreenPal icon in your Windows tool tray or Mac menu bar and select Launch Recorder. You can then choose to record your screen, camera, or both.
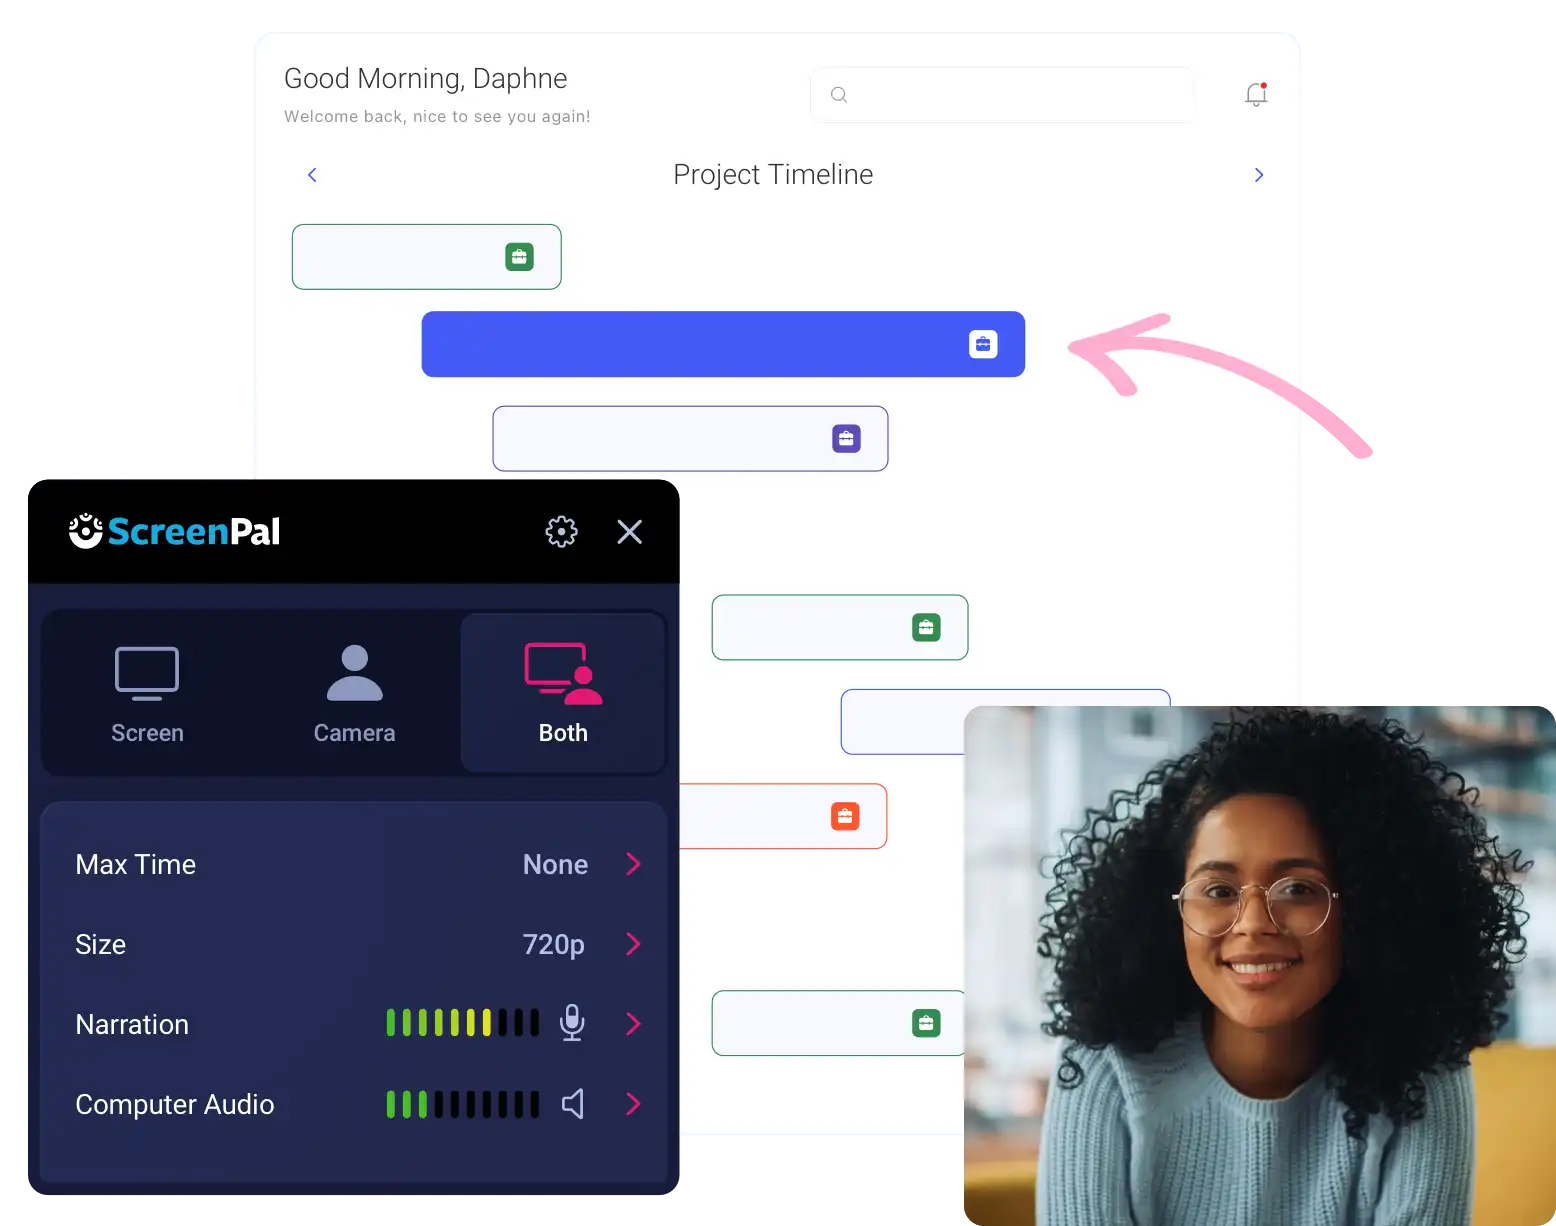
You can drag and resize the frame to record any part of your screen, or choose a preselected size.
You can choose to capture narration and computer audio.
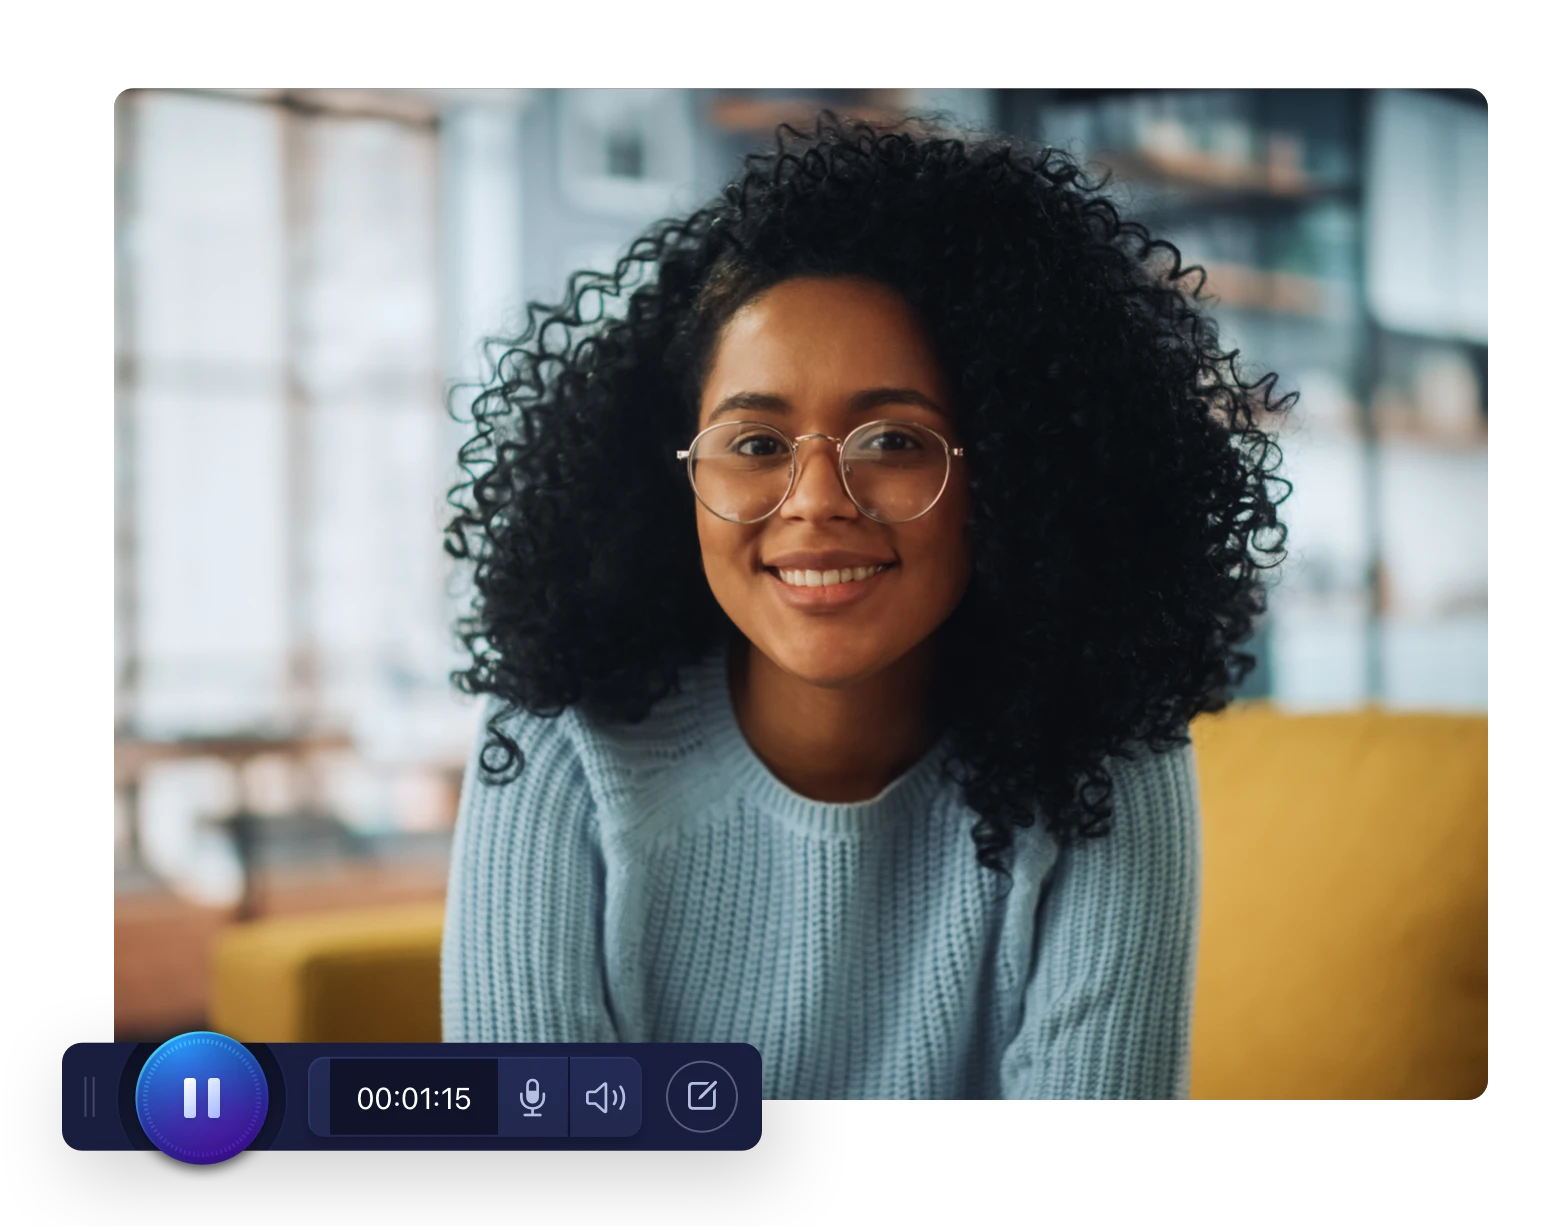
When you’re finished recording, click the Pause button and then click Done.
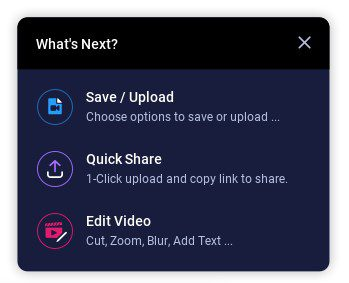
When you click Done you’ll be presented with a menu that enables you to save or upload your recording, quickly copy a link to share, or edit the video in ScreenPal’s Video Editor.
Use the Video Editor to add image and video overlays, trim and cut your video, add shapes, rich text, and arrows, and much more!
When you’re finished, you can upload your video to ScreenPal’s hosting platform, share it to sites like YouTube and Google Drive, or save it to your computer.
Editing your Video
To send your recording directly to the Video Editor, click the Edit Video button.
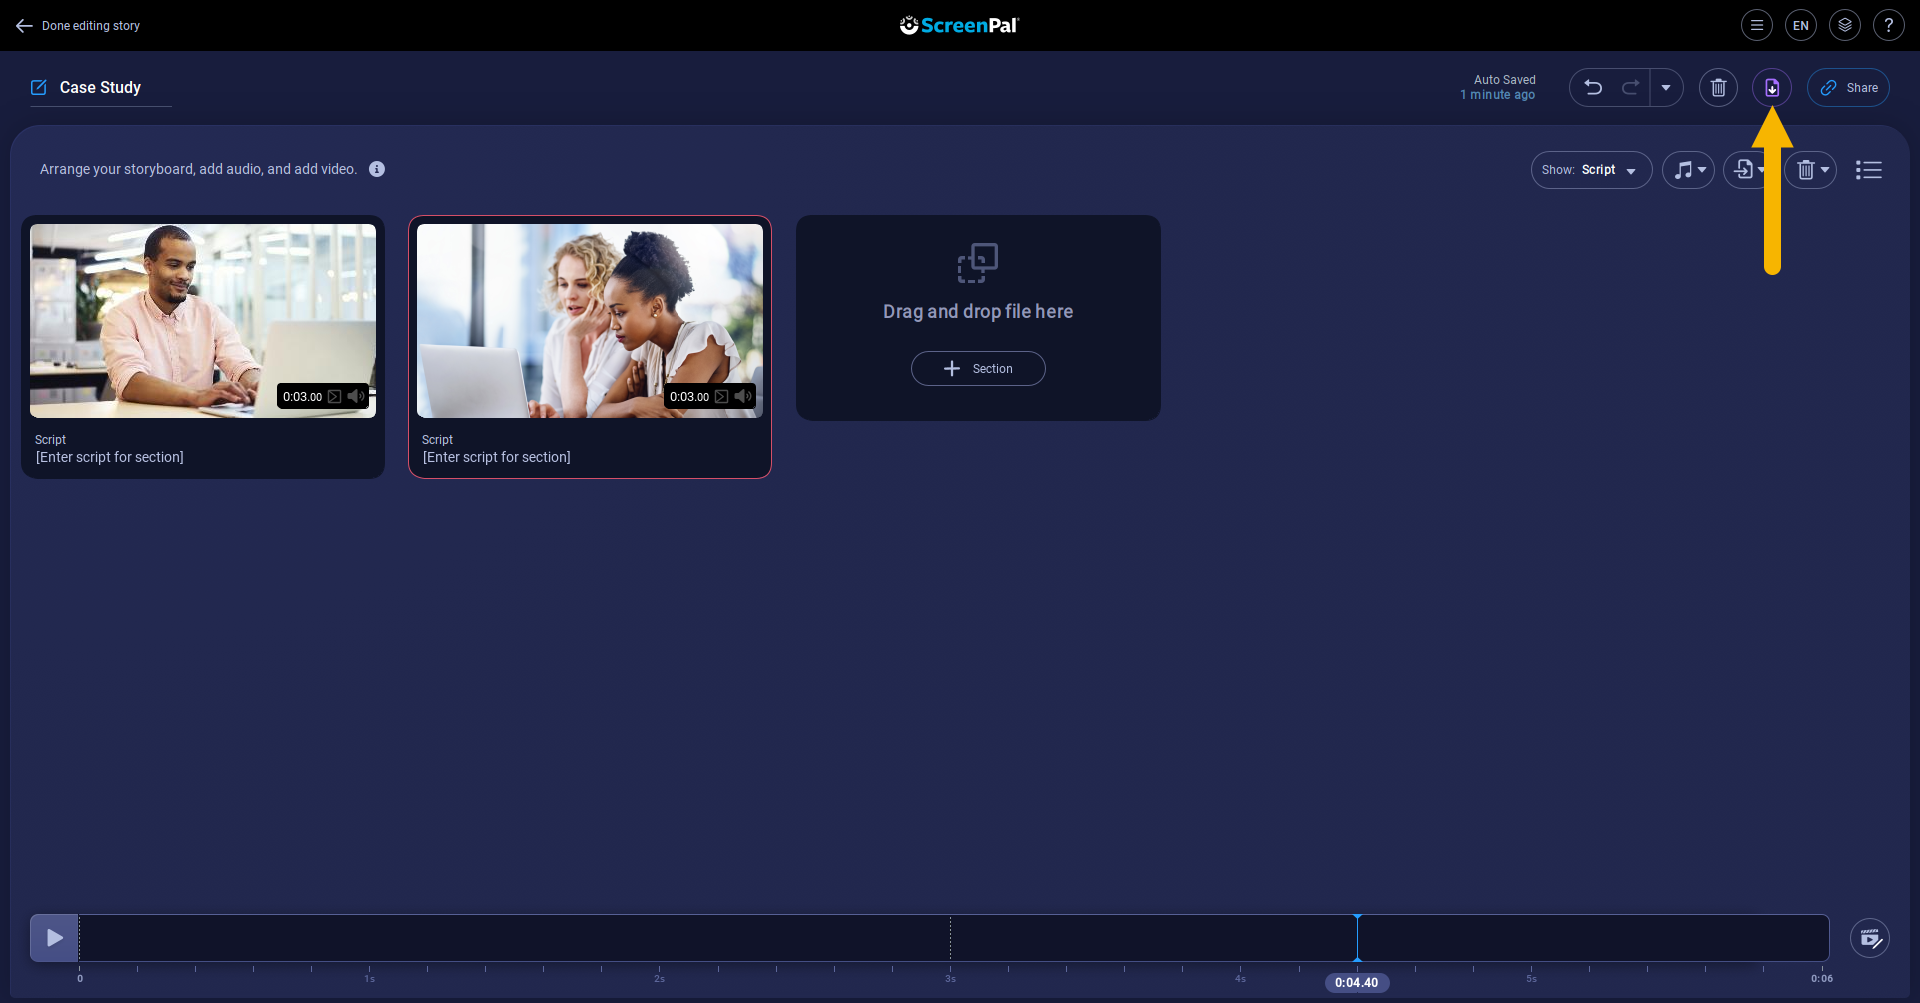
From the Video Editor, you can trim and cut your video, add text and shape overlays, add narration, and more. When you're finished editing, you can upload the video to your ScreenPal hosting account, save it to your device, or share it to sites like YouTube and Google Drive.
Saving your Video
To save your video as a file on your computer, click the Save button.
This displays a menu that enables you to select the type of video file you'd like to save, enter a name for the file, select the folder in which to save the video, and choose the video quality.
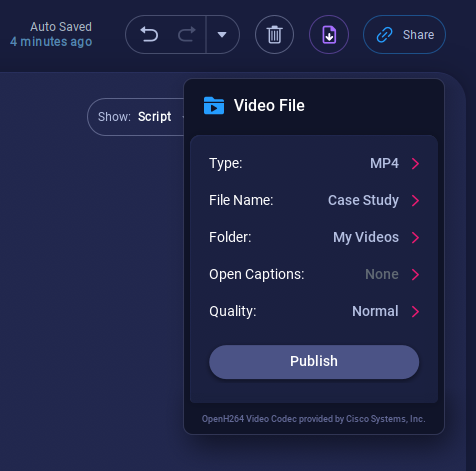
When you are finished selecting these options, click Publish. The video is saved to the folder location you selected.