
Write & send email
Need Additional Help? If you need further assistance after reading this article, please contact the IT helpdesk via email at techsupport@baypath.edu or by phone at (413)565-1487.
In both Outlook and Gmail, controls are available on the new message window. And you can right-click messages in your inbox to view options. Gmail automatically saves messages you're working on in a label named Drafts.
Open your email
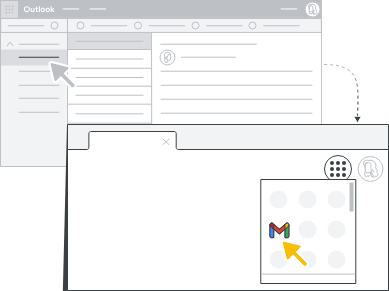
In Outlook: Open Outlook on your computer.
In Gmail: Visit gmail.baypath.edu in any web browser.
If you’d like to use Gmail from a mobile app, please visit the Android App store or the Apple App store.
Write & format an email
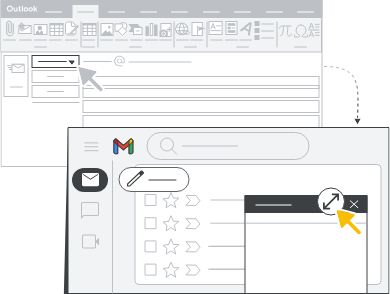
In Outlook: Click Home → New Email, then click Save.
In Gmail: Click Compose. Drafts are saved automatically. To find a draft, go to the label named Drafts.
Compose email
On your computer, go to Gmail
At the top left, click Compose.
In the To field, add recipients.
You can also add recipients to in the Cc and Bcc fields.
When composing a message, you can also add people to the email change by using an @mention and selecting their name from the dropdown.
Add a subject
Write your message
At the bottom of the window, click Send.
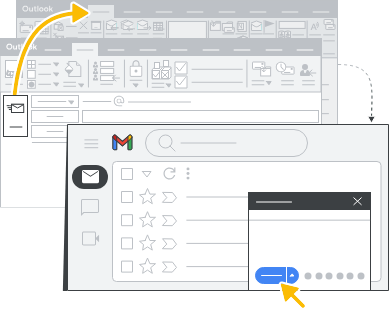
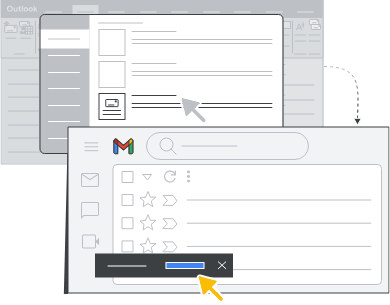
You can change the window size when composing a message by clicking the ![]() icon. Clicking the
icon. Clicking the ![]() icon will exit full screen mode.
icon will exit full screen mode.
Get writing tips
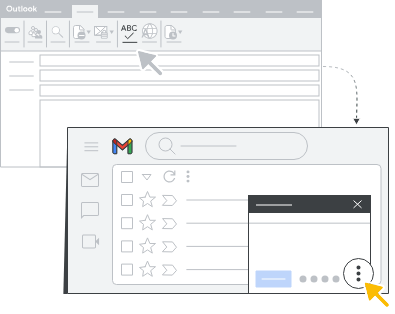
In Outlook: Use grammar and spelling checkers.
In Gmail: Get grammar, spelling, and personalized writing suggestions.
Turn grammar and spelling tools on or off
Click Settings
 → See all settings
At the top, click General.
Turn the following tools on or off:
Grammar
Spelling
Autocorrect
A dashed line will temporarily appear to show in blue for grammar or in red for spelling suggestions. To undo a change, click the underlined word and select Undo
Get writing suggestions
In the top right corner, click Settings
 → See all settings.
Under General, scroll down to Smart Compose
Select Writing suggestions on or Writing suggestions off.
Smart Compose is available in English, Spanish, French, Italian, and Portuguese. Smart compose is not designed to provide answers and may not always predict factually correct information.
Format email
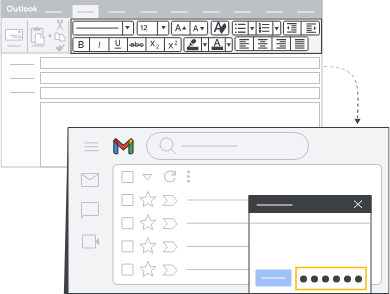
In Outlook: Apply text formats in the message window.
In Gmail: Apply commonly used text formats in the message window. For advanced formatting options or tables, edit and send email from Google Docs.
Format your email
Click Compose.
At the bottom of the message, click Formatting options

Change your default text style
In the top right, click Settings
 → See all settings.
Scroll down to the Default text style section.
Change the text in the box to be the style you want for your emails.
At the bottom of the page, click Save Changes.
Draft email in Google Docs
Open a Google Doc
at the top left click Insert → Building blocks → Email draft
You can also type @email in the doc and press Enter.
To add recipients in the To field, type @ and search your contacts or type out email addresses
You can add a subject line, write text in the email body, and format your draft.
Set up email signatures
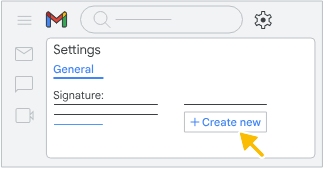
In Outlook: In the message window, click Message → Signature
In Gmail: In the message window, click Insert signature![]()
We recommend that you follow the documentation located here on how to create signatures
Mark email you send as important

In Outlook: Select the high-importance marker. Importance markers don't appear in messages sent to Gmail accounts.
In Gmail: Highlight the message's importance in the subject field.
Importance markers do not exist in GMail. We recommend that you modify the Subject of an email with a tag such as [URGENT], [REPLY BY DATE], OR [APPROVAL NEEDED]
Scheduling an email for delivery
In Outlook: In the message window, select Options → Delay Delivery.
In Gmail: In the message window, click the Down arrow next to Send, then click Schedule Send.
You can have a maximum of 100 scheduled emails.
Enhance message security
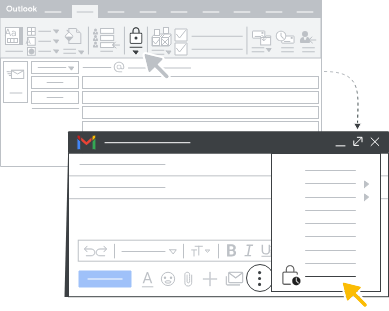
In Outlook: In the message window, select Options → Encrypt.
In Gmail: In the message window, turn on confidential mode
Click Compose
In the bottom right of the window click Turn on confidential mode
 .
.Set an expiration date and passcode. These settings impact both the message text and any attachments
If you choose No SMS passcode, recipients using the Gmail app will be able to open it directly. Recipients who don’t use Gmail will be emailed a passcode.
If you choose SMS passcode, recipients will get a passcode by text message. Make sure you enter the recipients phone number, not your own.
Click Save.
Know when someone opens your email
In Outlook: In the message window, click Options → Delivery Reciept.
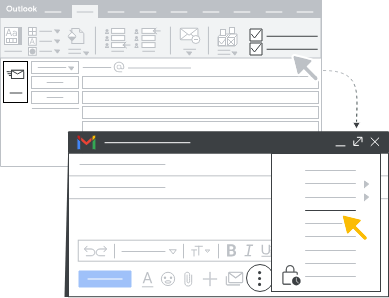
In Gmail: At the bottom of the message window, request a read receipt.
Read receipts are not a reliable way to determine if your message has been read. To receive a read receipt, the recipient may need to approve it first.
Click Compose
Compose your email as you normally would.
At the bottom right, click More Options and select Request read receipt.
Click Send.
Undo send
In Outlook: In the message window, go to File → Message Resend and Recall.
In Gmail: In the Message sent notification, click Undo within the cancellation period.
Recall an email with Undo Send
In the bottom left, you’ll see Message Sent and the option to Undo or View Message.
Click Undo
Choose an amount of time to recall a message
In the top right, click Settings
 → See all settings.
Next to Undo Send select a send cancellation period of 5,10,20, or 30 seconds.
At the bottom, click Save changes.
Next Section
In the next section, the guide will cover replying to an email.