
How to Set Up an Appointment Schedule in Google Calendar
In Google Calendar, you can manage your availability and allow people to schedule meetings with you via a personal booking page (similar to Calendly).
You must first enable this feature, see the instructions here: How to Enable Appointment Scheduling in Google Calendar
If anything is unclear or confusing in this article, please contact the A&IT Helpdesk via email at techsupport@baypath.edu or via phone at (413)565-1487.
In a web browser, navigate to Google Calendar (calendar.google.com)
In the upper-left, select Create and select Appointment Schedule from the menu.
An Appointment Schedule window will open. fill out the items below
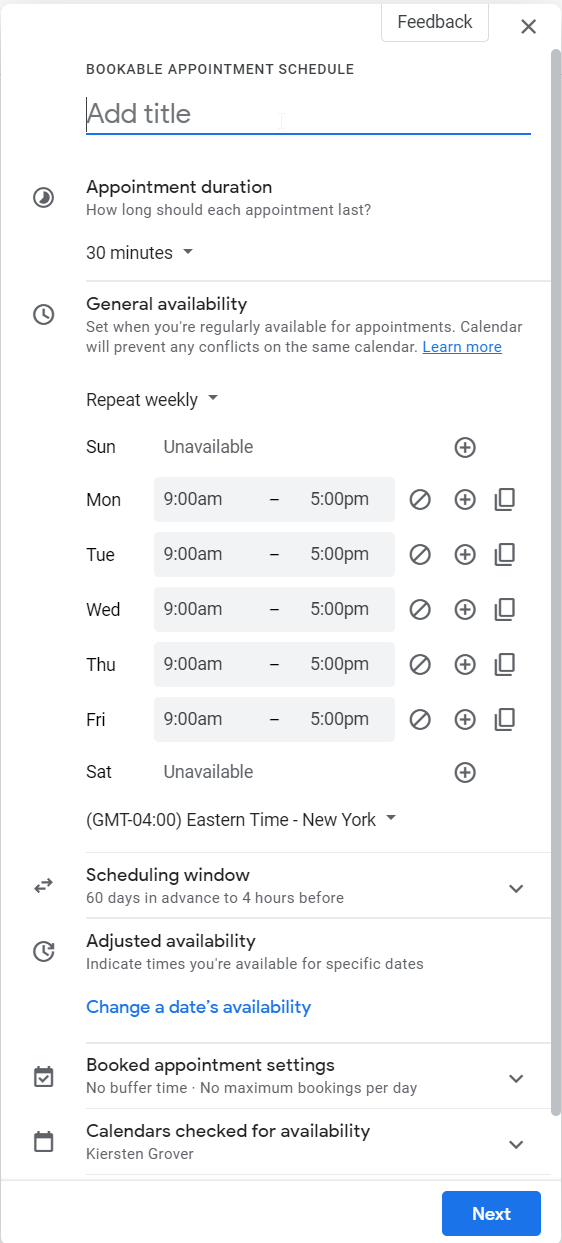
Create a title. This will be the title of your booking page.
Select the appointment duration. The minimum is 15 minutes.
Select your availability for appointments. You can set the date, time, and frequency.
You can change how far in advance appointments can be booked under Scheduling Window
By default, someone can book an appointment with you anywhere from 12 hours to 60 days in advance.
Under Booked Appointment Settings, you can add a meeting buffer, or maximum appointment bookings per day
Select Next
The booking page items below are optional but can be filled out
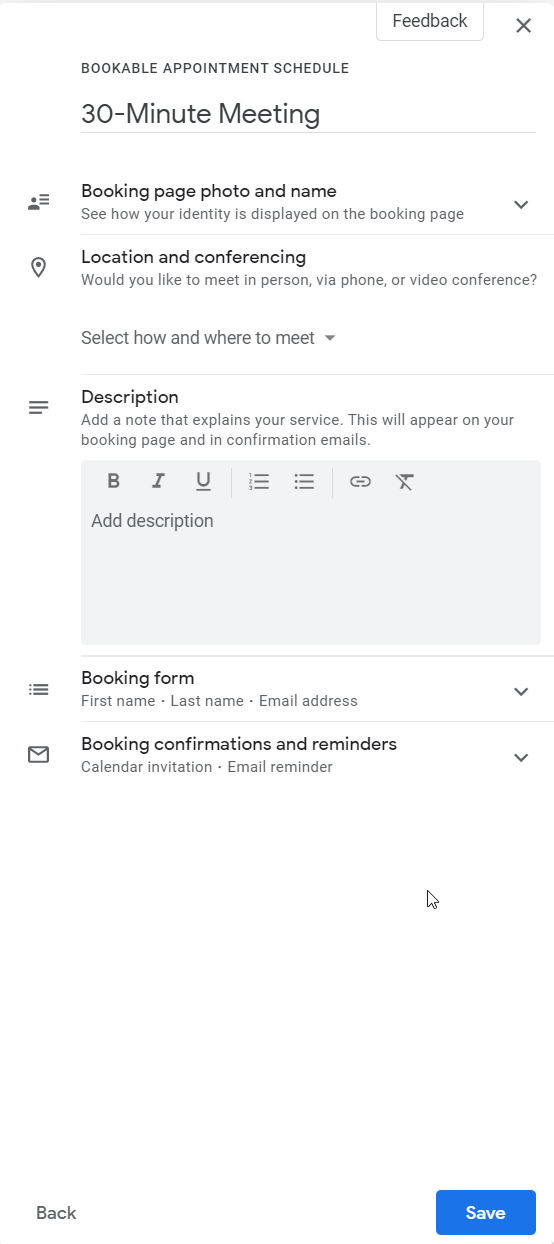
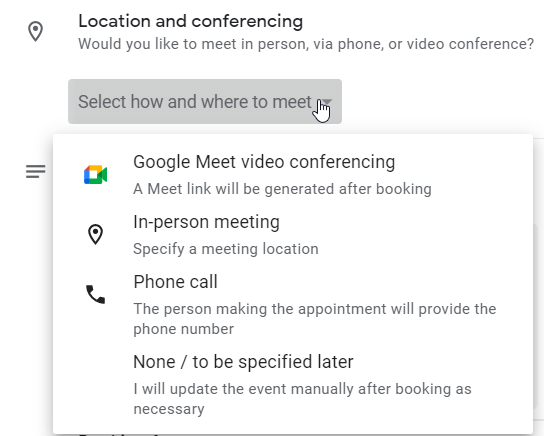
Location and Conferencing can be added
A Description of the meeting can be added
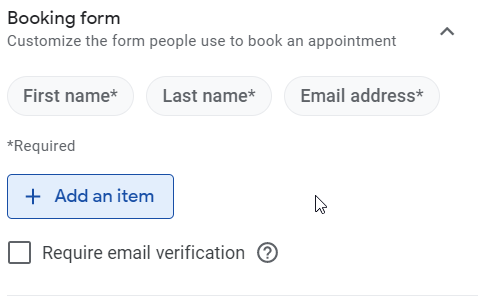
You can edit the items on the booking form
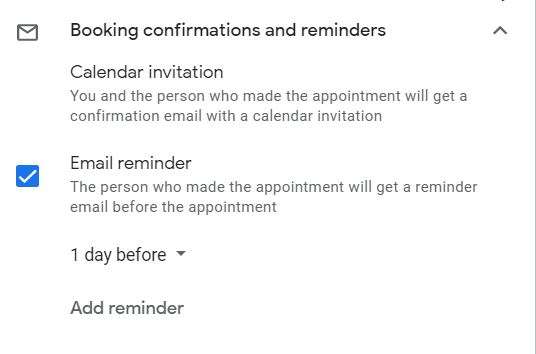
You can customize email reminders for the person who made the appointment
Once you are finished, select Save
You will see the appointment slot on your calendar
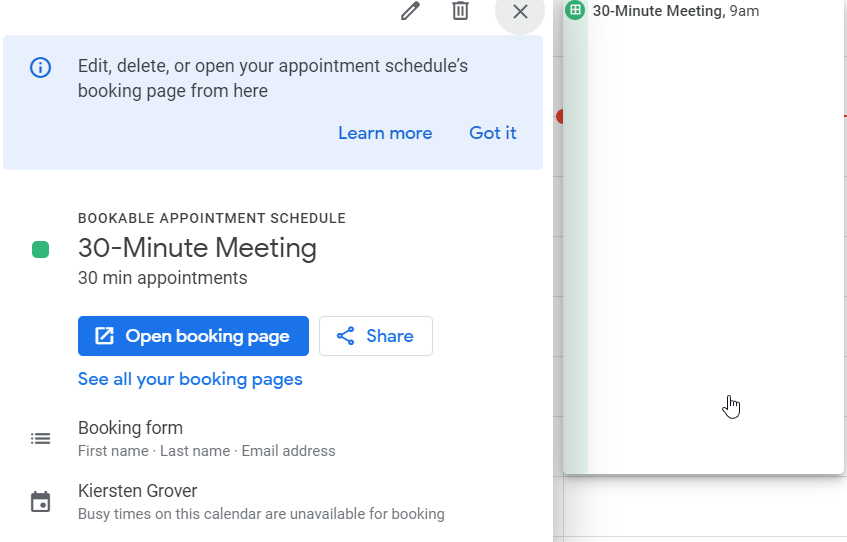
You can also open the booking page or share the link to your booking page so that people can start scheduling meetings with you